The ongoing process of making our new house in Tennessee a place to call home, is exciting but the work involved can be exhausting. One thing I’ve learned is that living in a place for a while gives a person a better idea of what is needed (or wanted) as opposed to moving in and making immediate changes. Aside from the obvious tweaks in a newly purchased home, or updates in an older one, living within it’s walls for some time offers a whole new perspective on the real style and feeling of a home and offers you a better vision of what you’d like the outcome to be.
Unfortunately, I’m one of those people who can’t sit still. I always need to be doing something constructive – even when riding in the car or sitting in front of the television, I am usually multitasking. I’ve always had this energy, this need to make my immediate space more organized and more gratifyingly efficient. Being organized gives me pleasure and the feeling of a life well lived. I’ve never been one to shy away from hard work, especially if that work means that my space, my home, will bring joy to my senses, pleasure to my eyes, peace to my soul, and warmth to my heart. To me, these feelings are accomplished with light filled rooms, lots of windows and a beautiful view. When I’m in my home, whether it’s real or perceived, I must have the feeling of quietude and seclusion with an abundance of fresh and natural light.
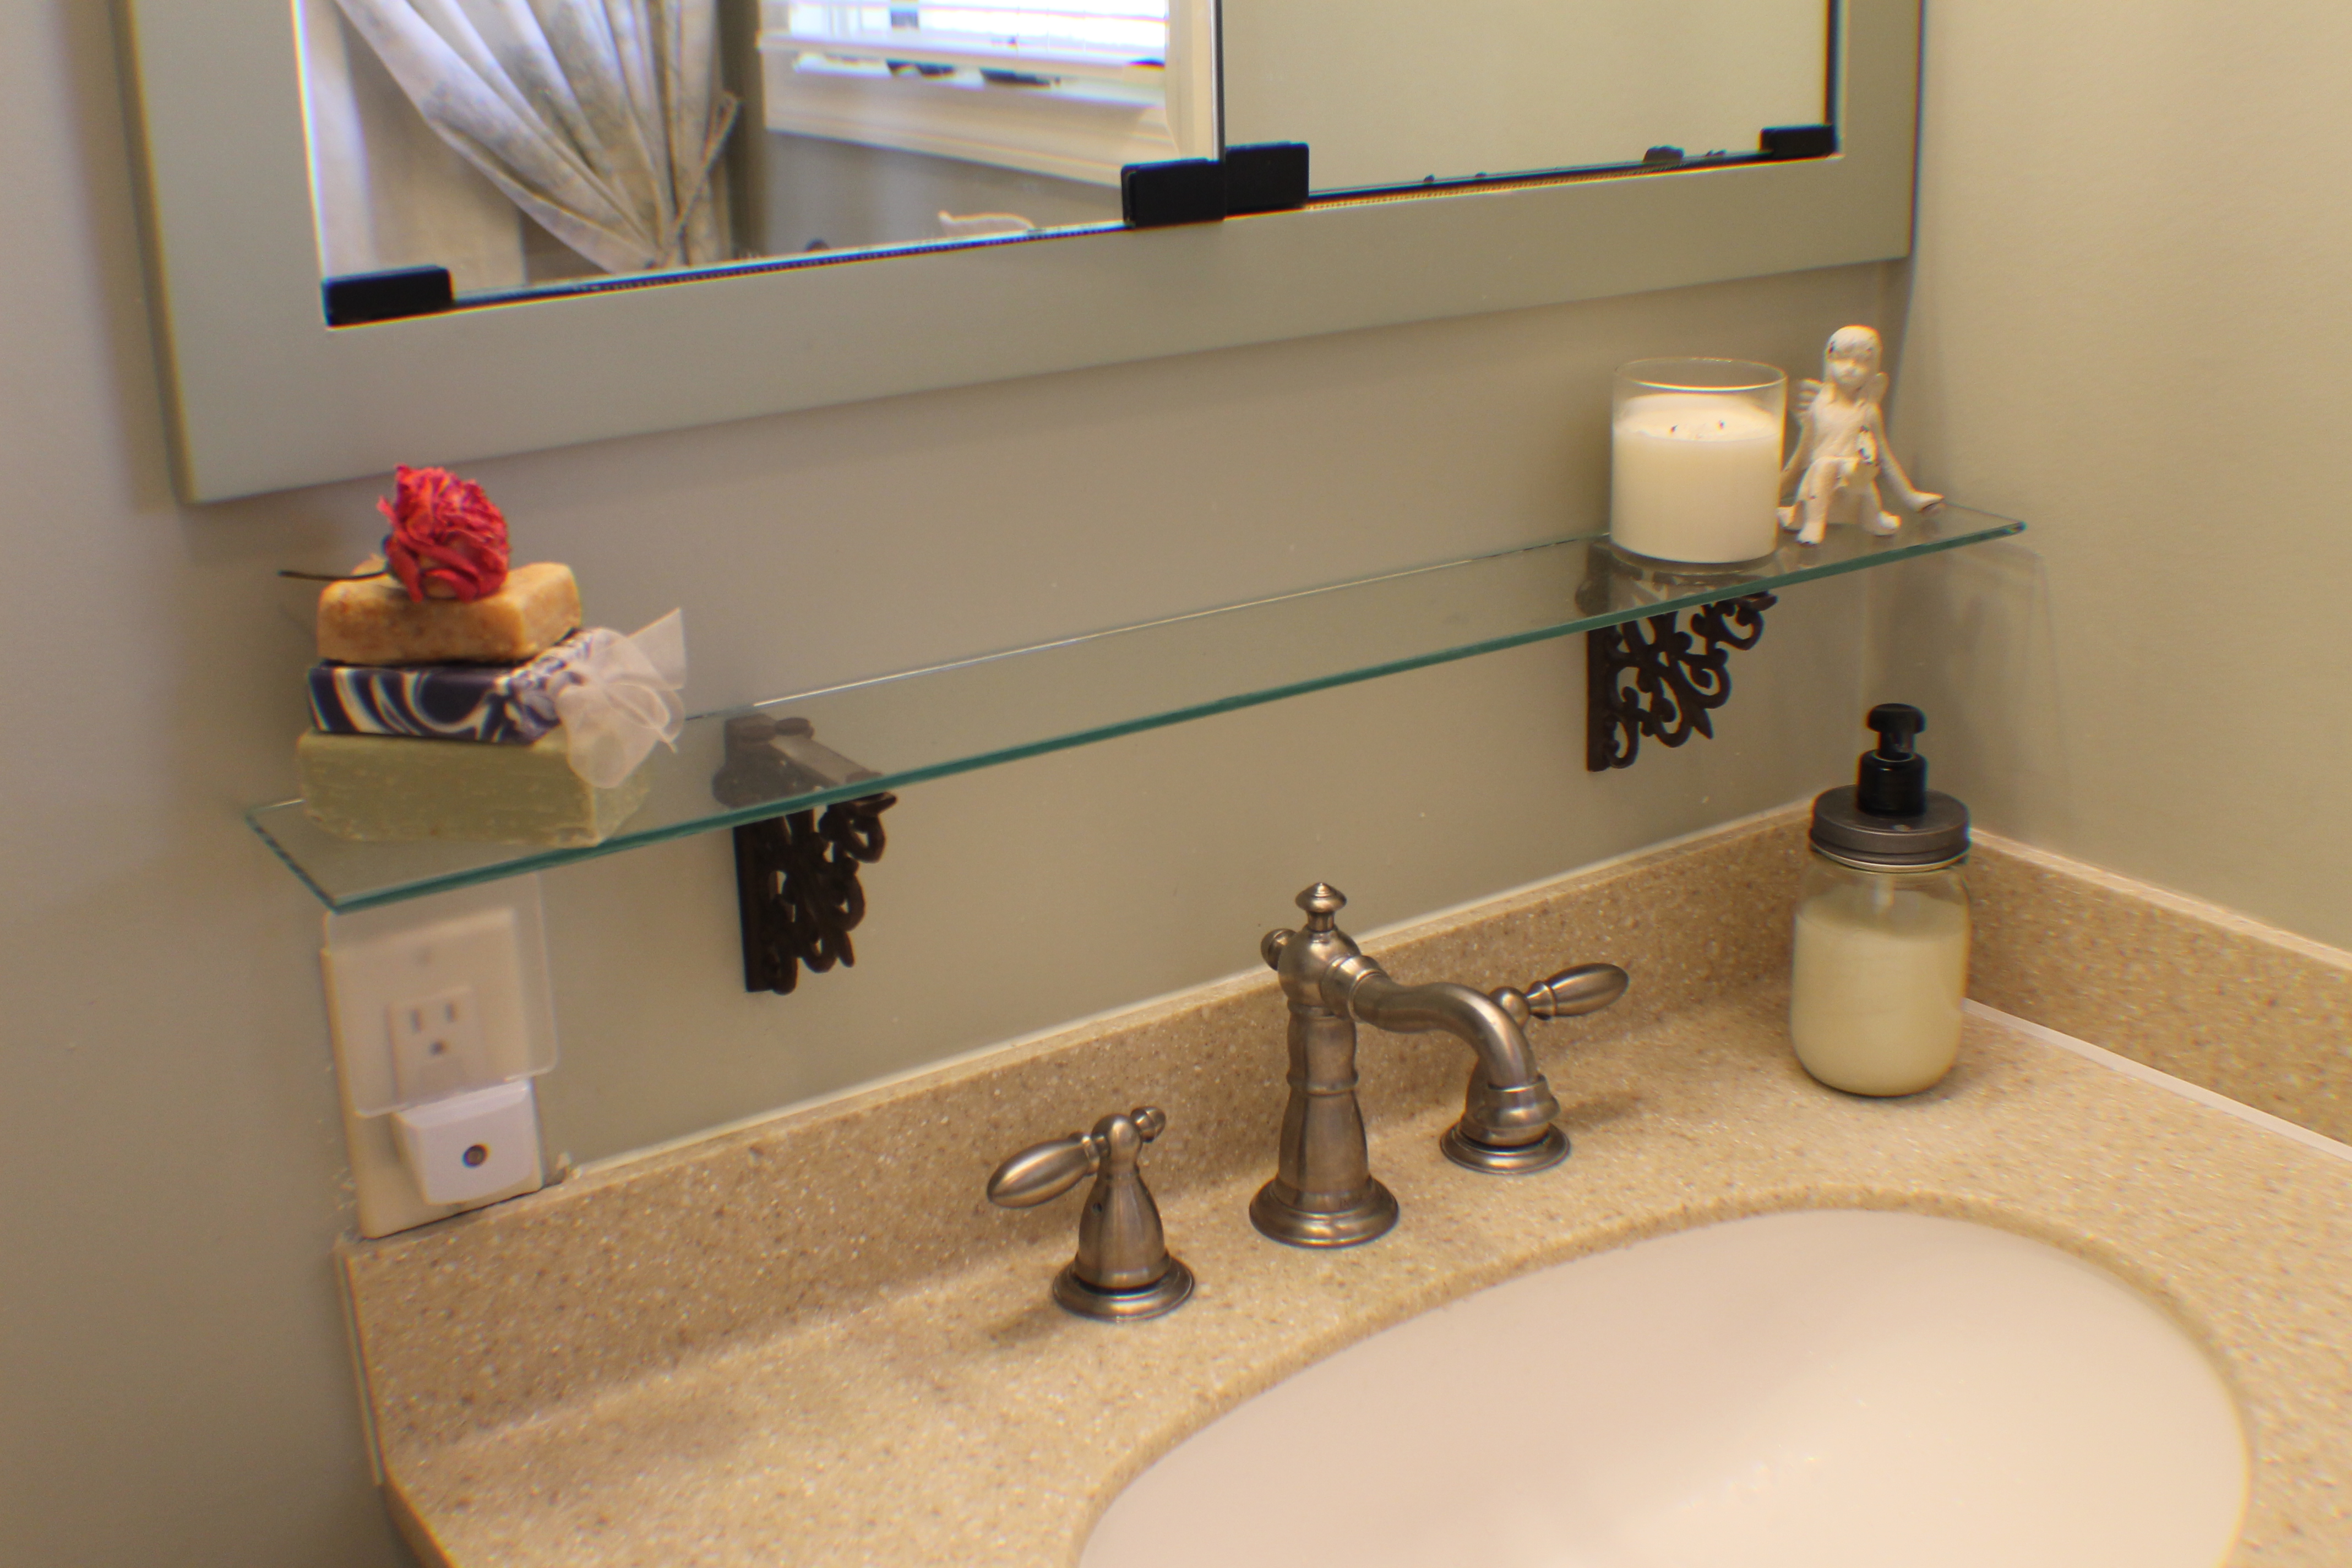
Now that we’ve lived here for the better part of 2 years, after settling in and enjoying the feel of the cottage, after laying a new sidewalk to the front door and creating garden beds which is still a work in the making, my latest project has been to redecorate one of our two bathrooms. Because this cottage has only two small bathrooms, I have adopted one, and my husband, the other. The bathroom I have claimed is also the “guest room bath” so I make an effort to keep it looking especially nice and neat. This particular post is to show you how easy it is to make small changes for a big effect.
Here are some photos of the bathroom before. It’s small so these are the best shots I could get.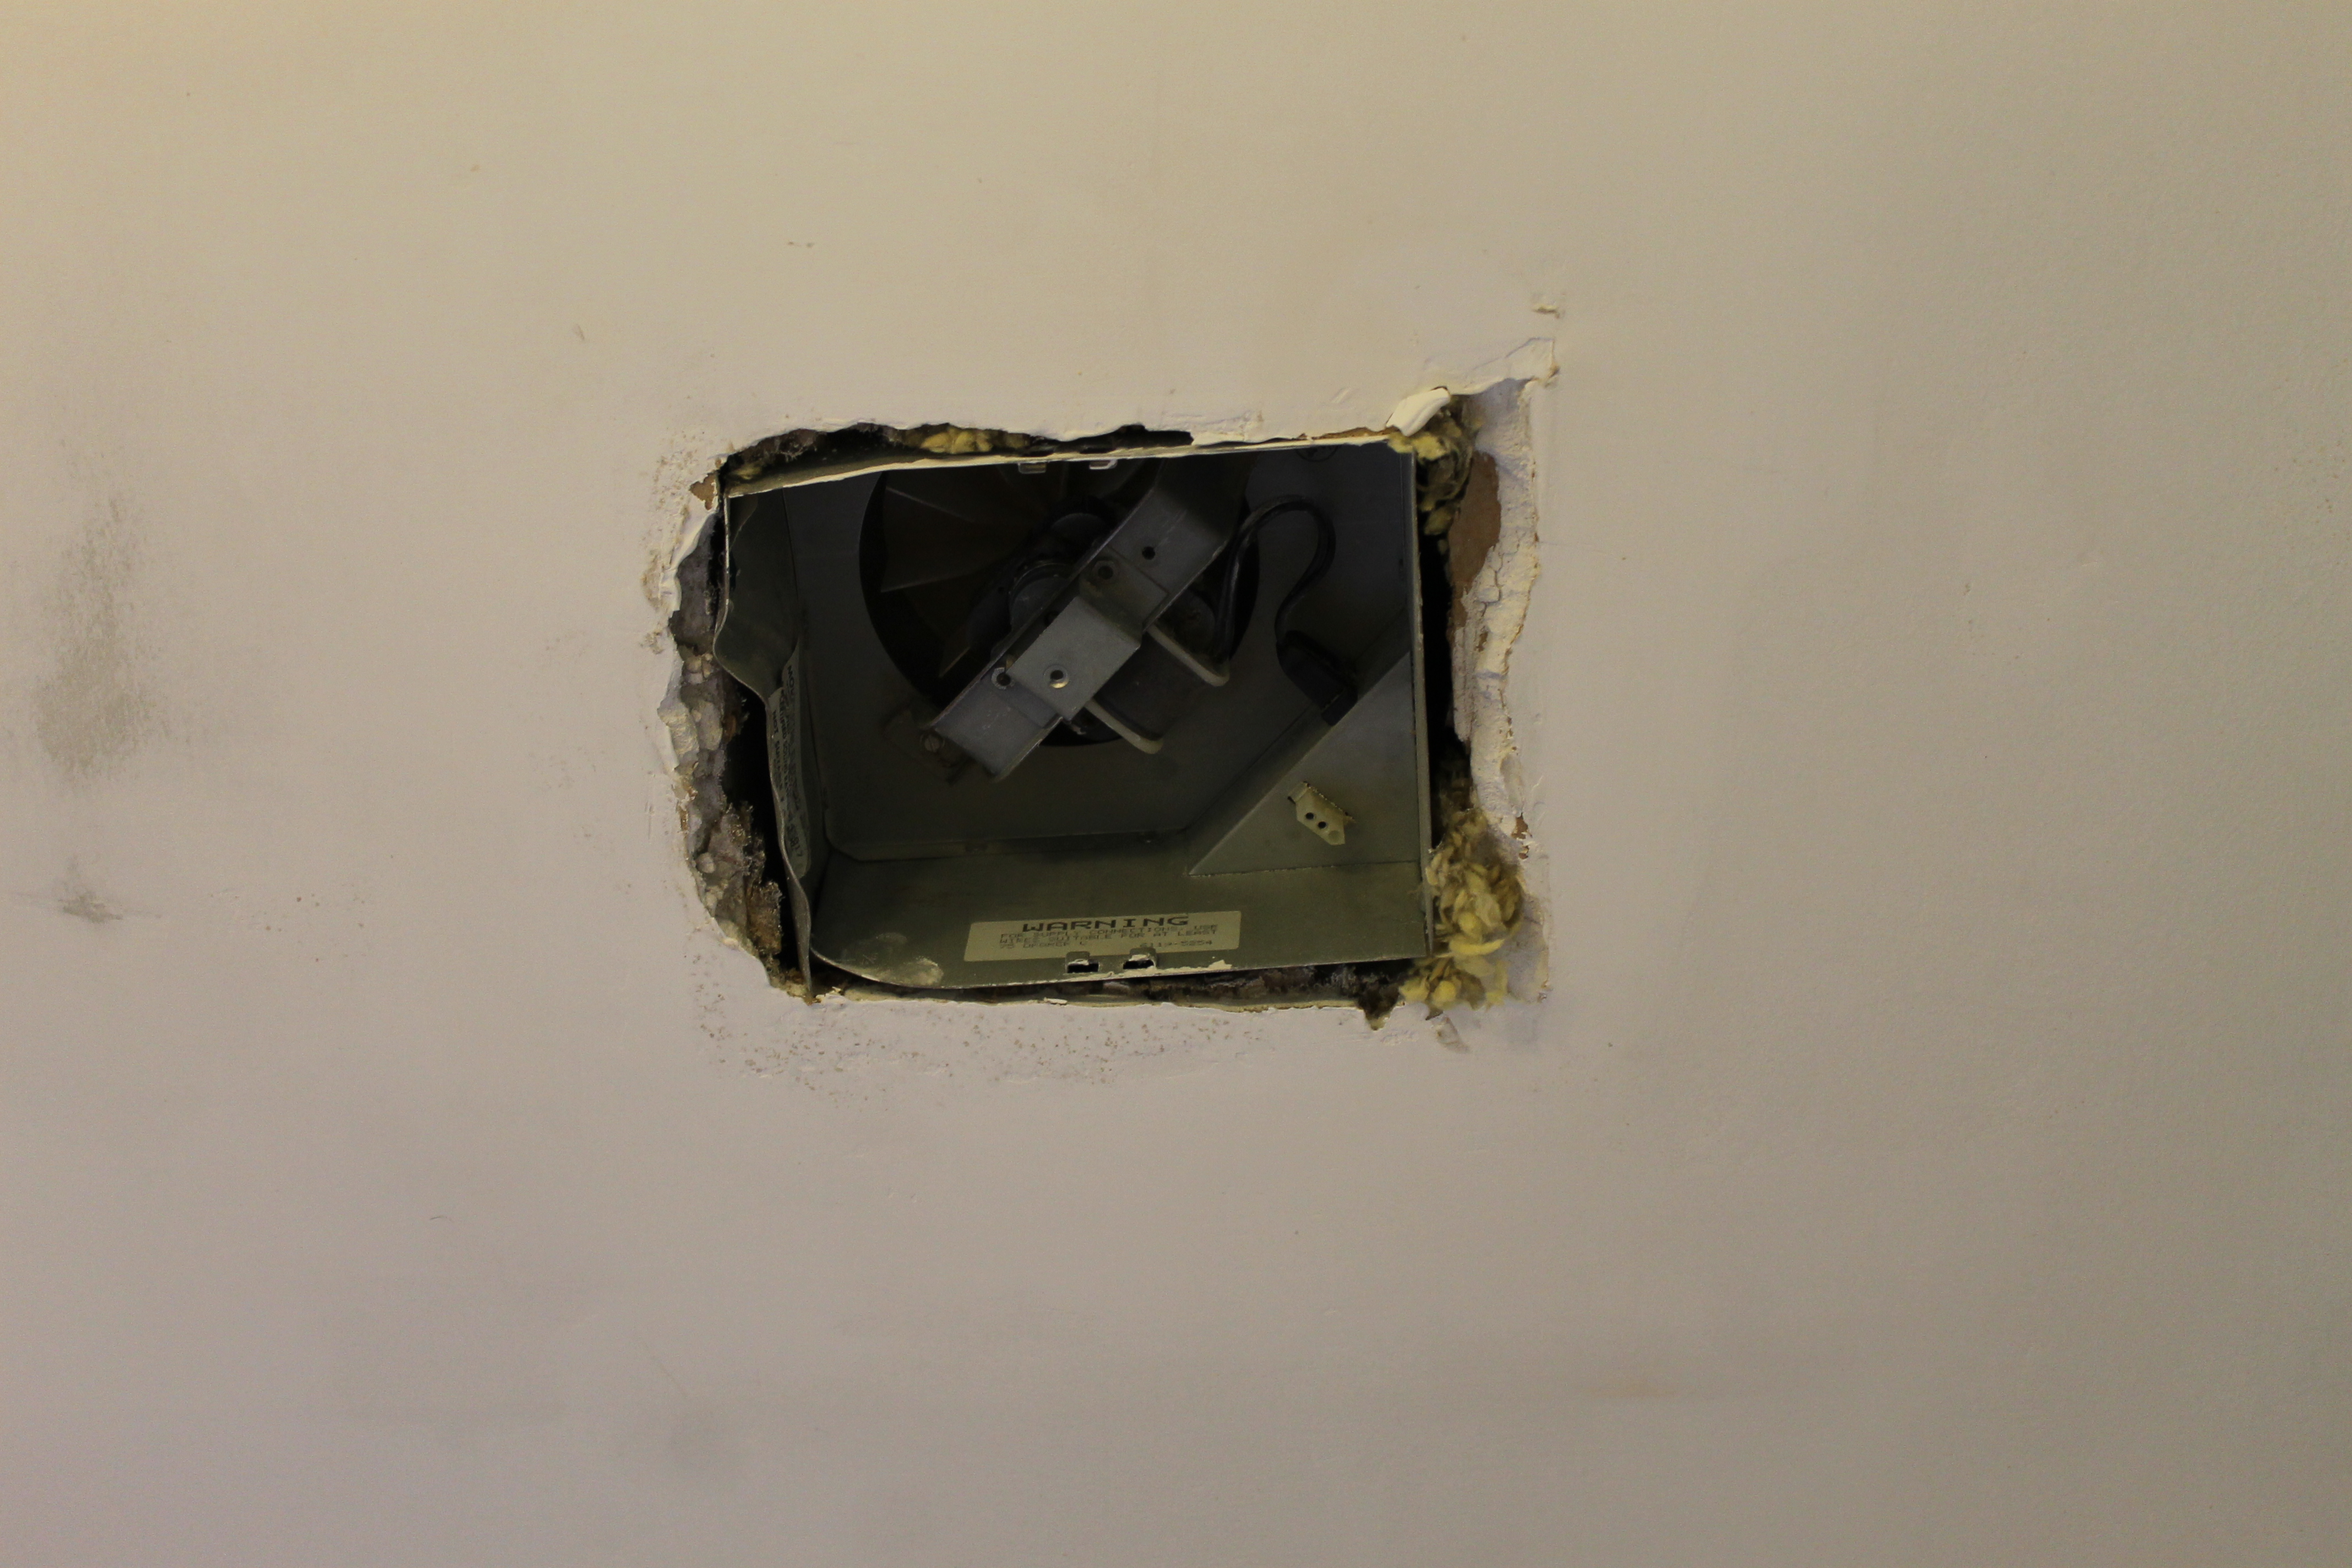
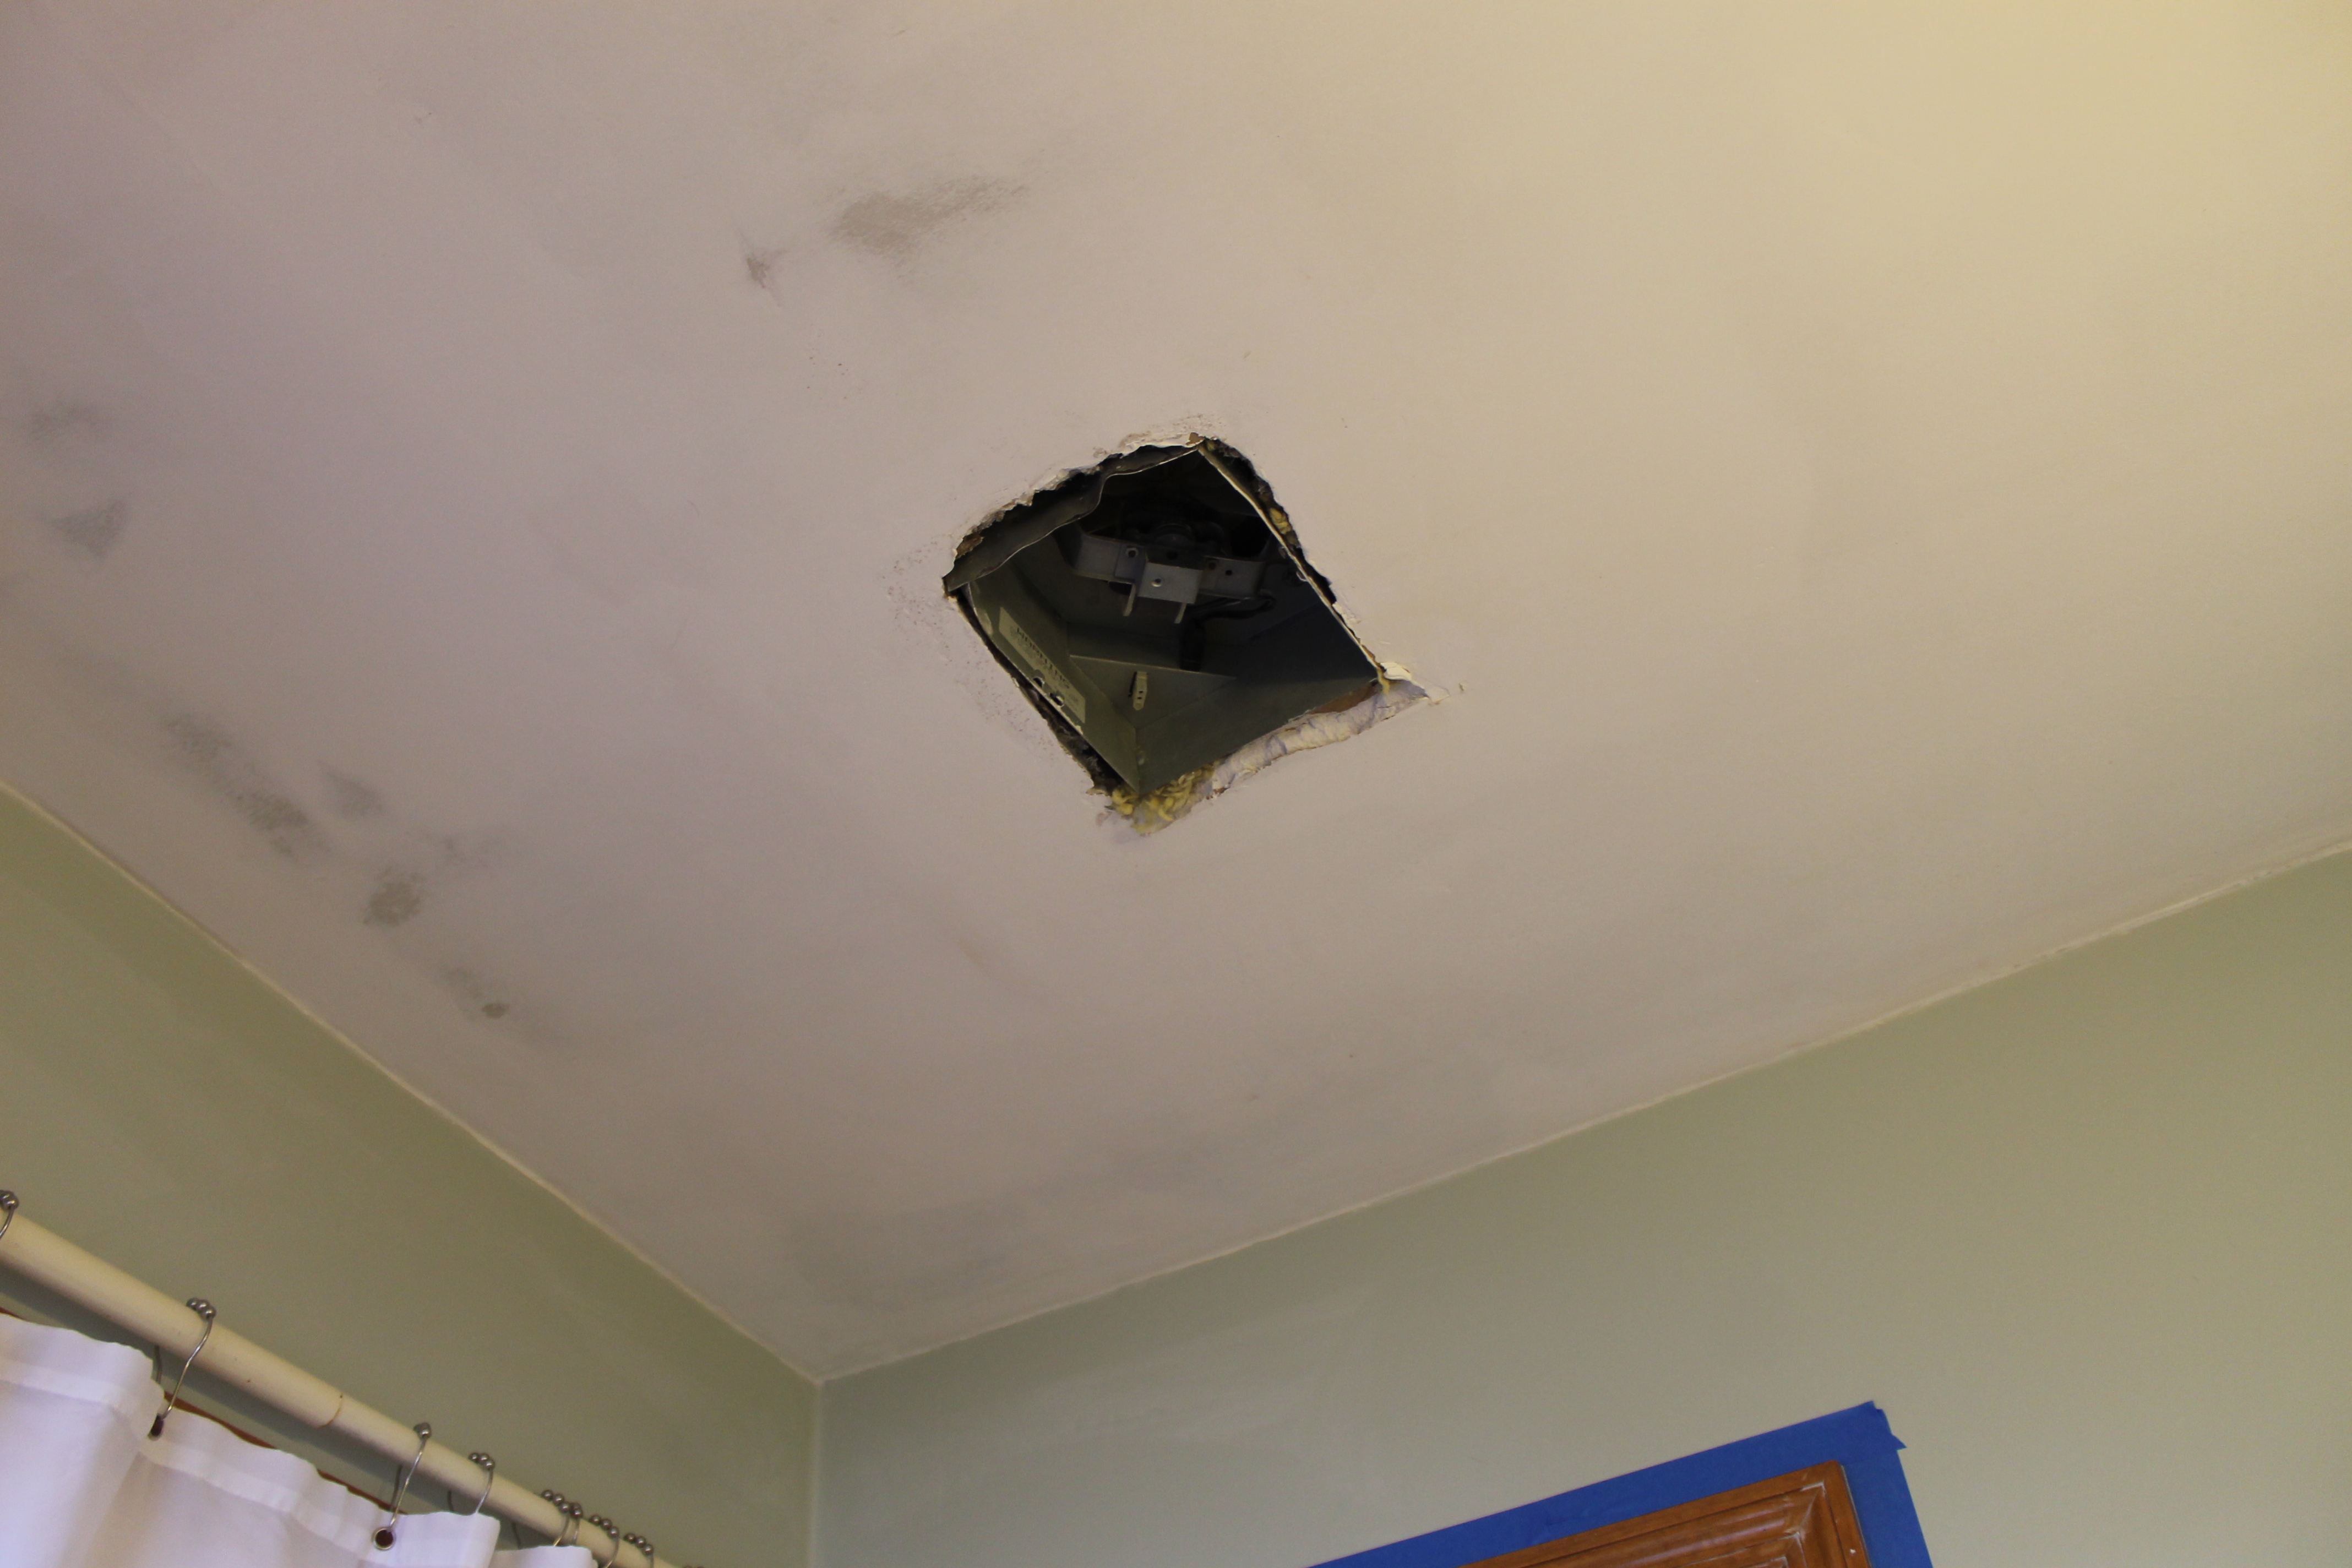 Above: This is the hole in the ceiling where the white (yellowed) plastic, very dated, light/fan combo fixture was.
Below: The stained trim didn’t match what my mind’s eye was seeing and made the small bathroom look even smaller. I wanted a light and bright French Country look.
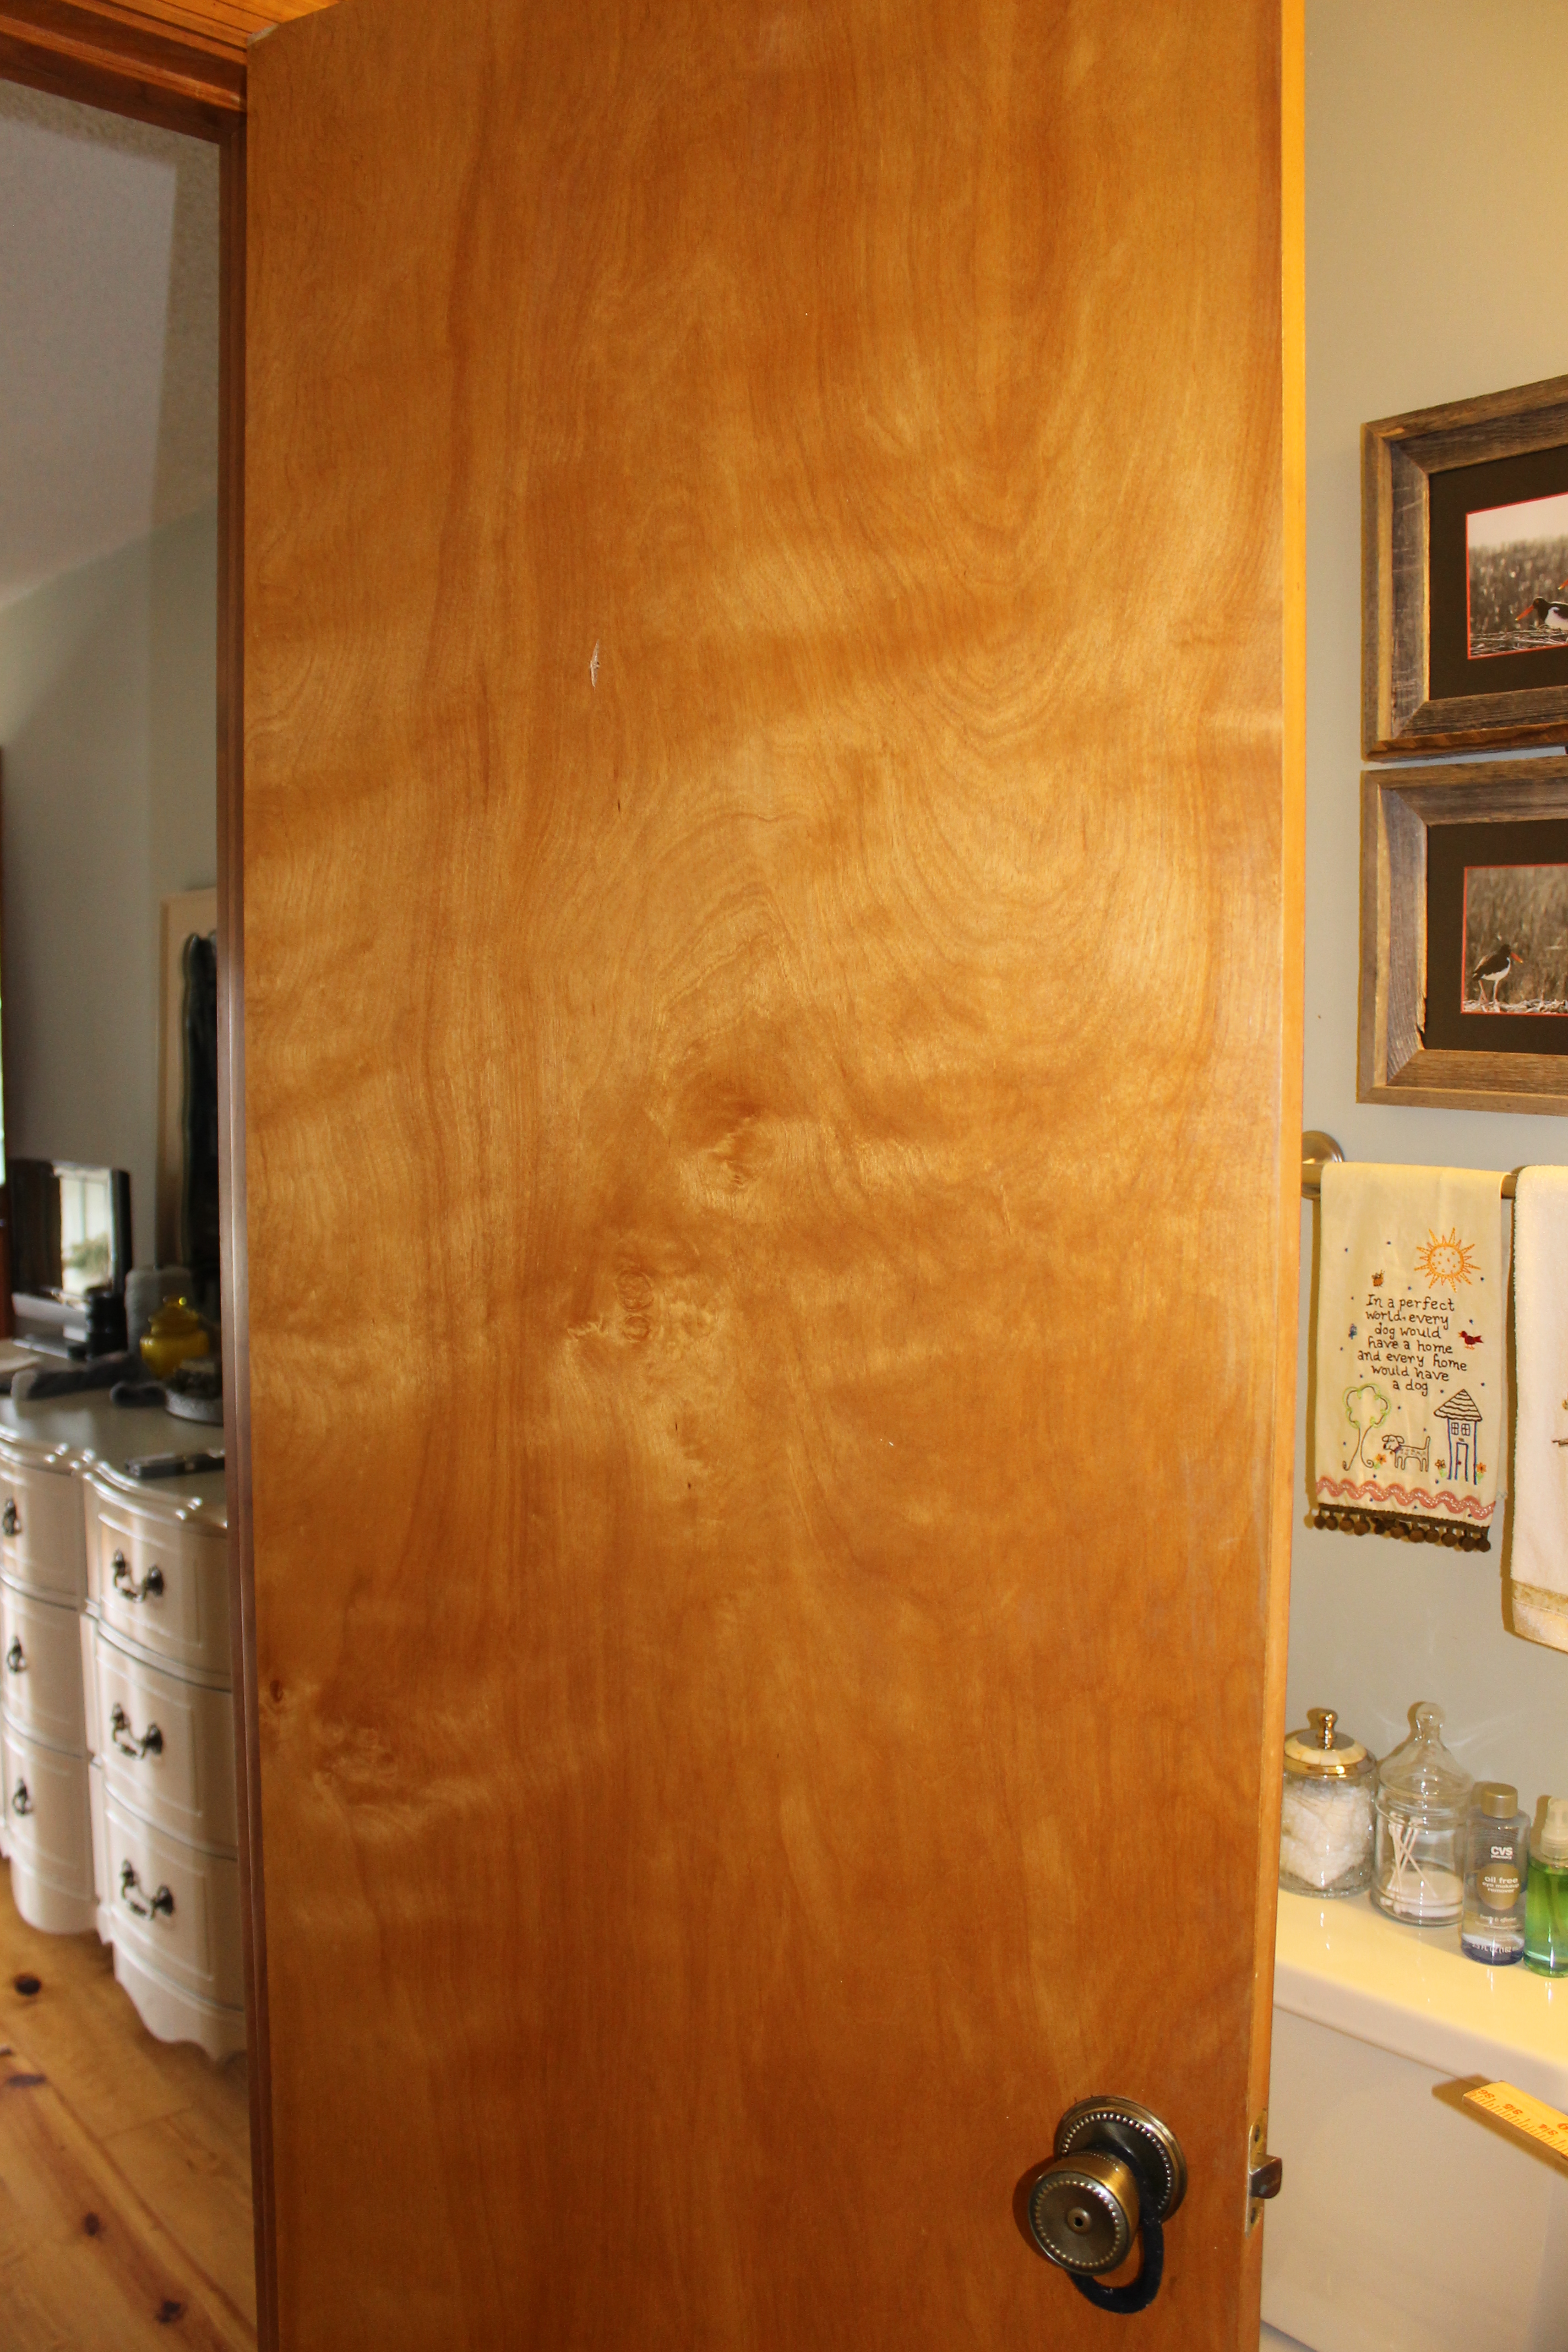
 Below: The flattest door I’ve ever seen and the most boring. But fortunately, easy to work with.
 Starting from the top down, the first task was to scrape the popcorn ceiling. Big and messy job! I had to mud, sand and caulk a bit once the popcorn was down.
The second task was to remove an ugly, contractor grade, exhaust fan/light combo with its yellowed plastic cover. It was likely installed some 30 years ago. We were presented with some problems, however, like an old exhaust fan with no attic access. The fan/light combo fixture was one the ugliest things I’ve seen. I visioned a small chandelier instead and although there are many very cute lighting fixtures on the market I found nothing that included an exhaust fan. Since it was impossible to remove the old fan without attic access, if we still wanted an exhaust fan that is, then we would have to figure some way to make it work. After much consideration, and being told that it couldn’t be done, (which made me even more determined) I decided to use the current fixture and to redesign it.
Next, I wanted to paint all the trim, baseboards and door off white. I also wanted larger baseboards (removing and replacing the baseboards would be easy in such a small space).
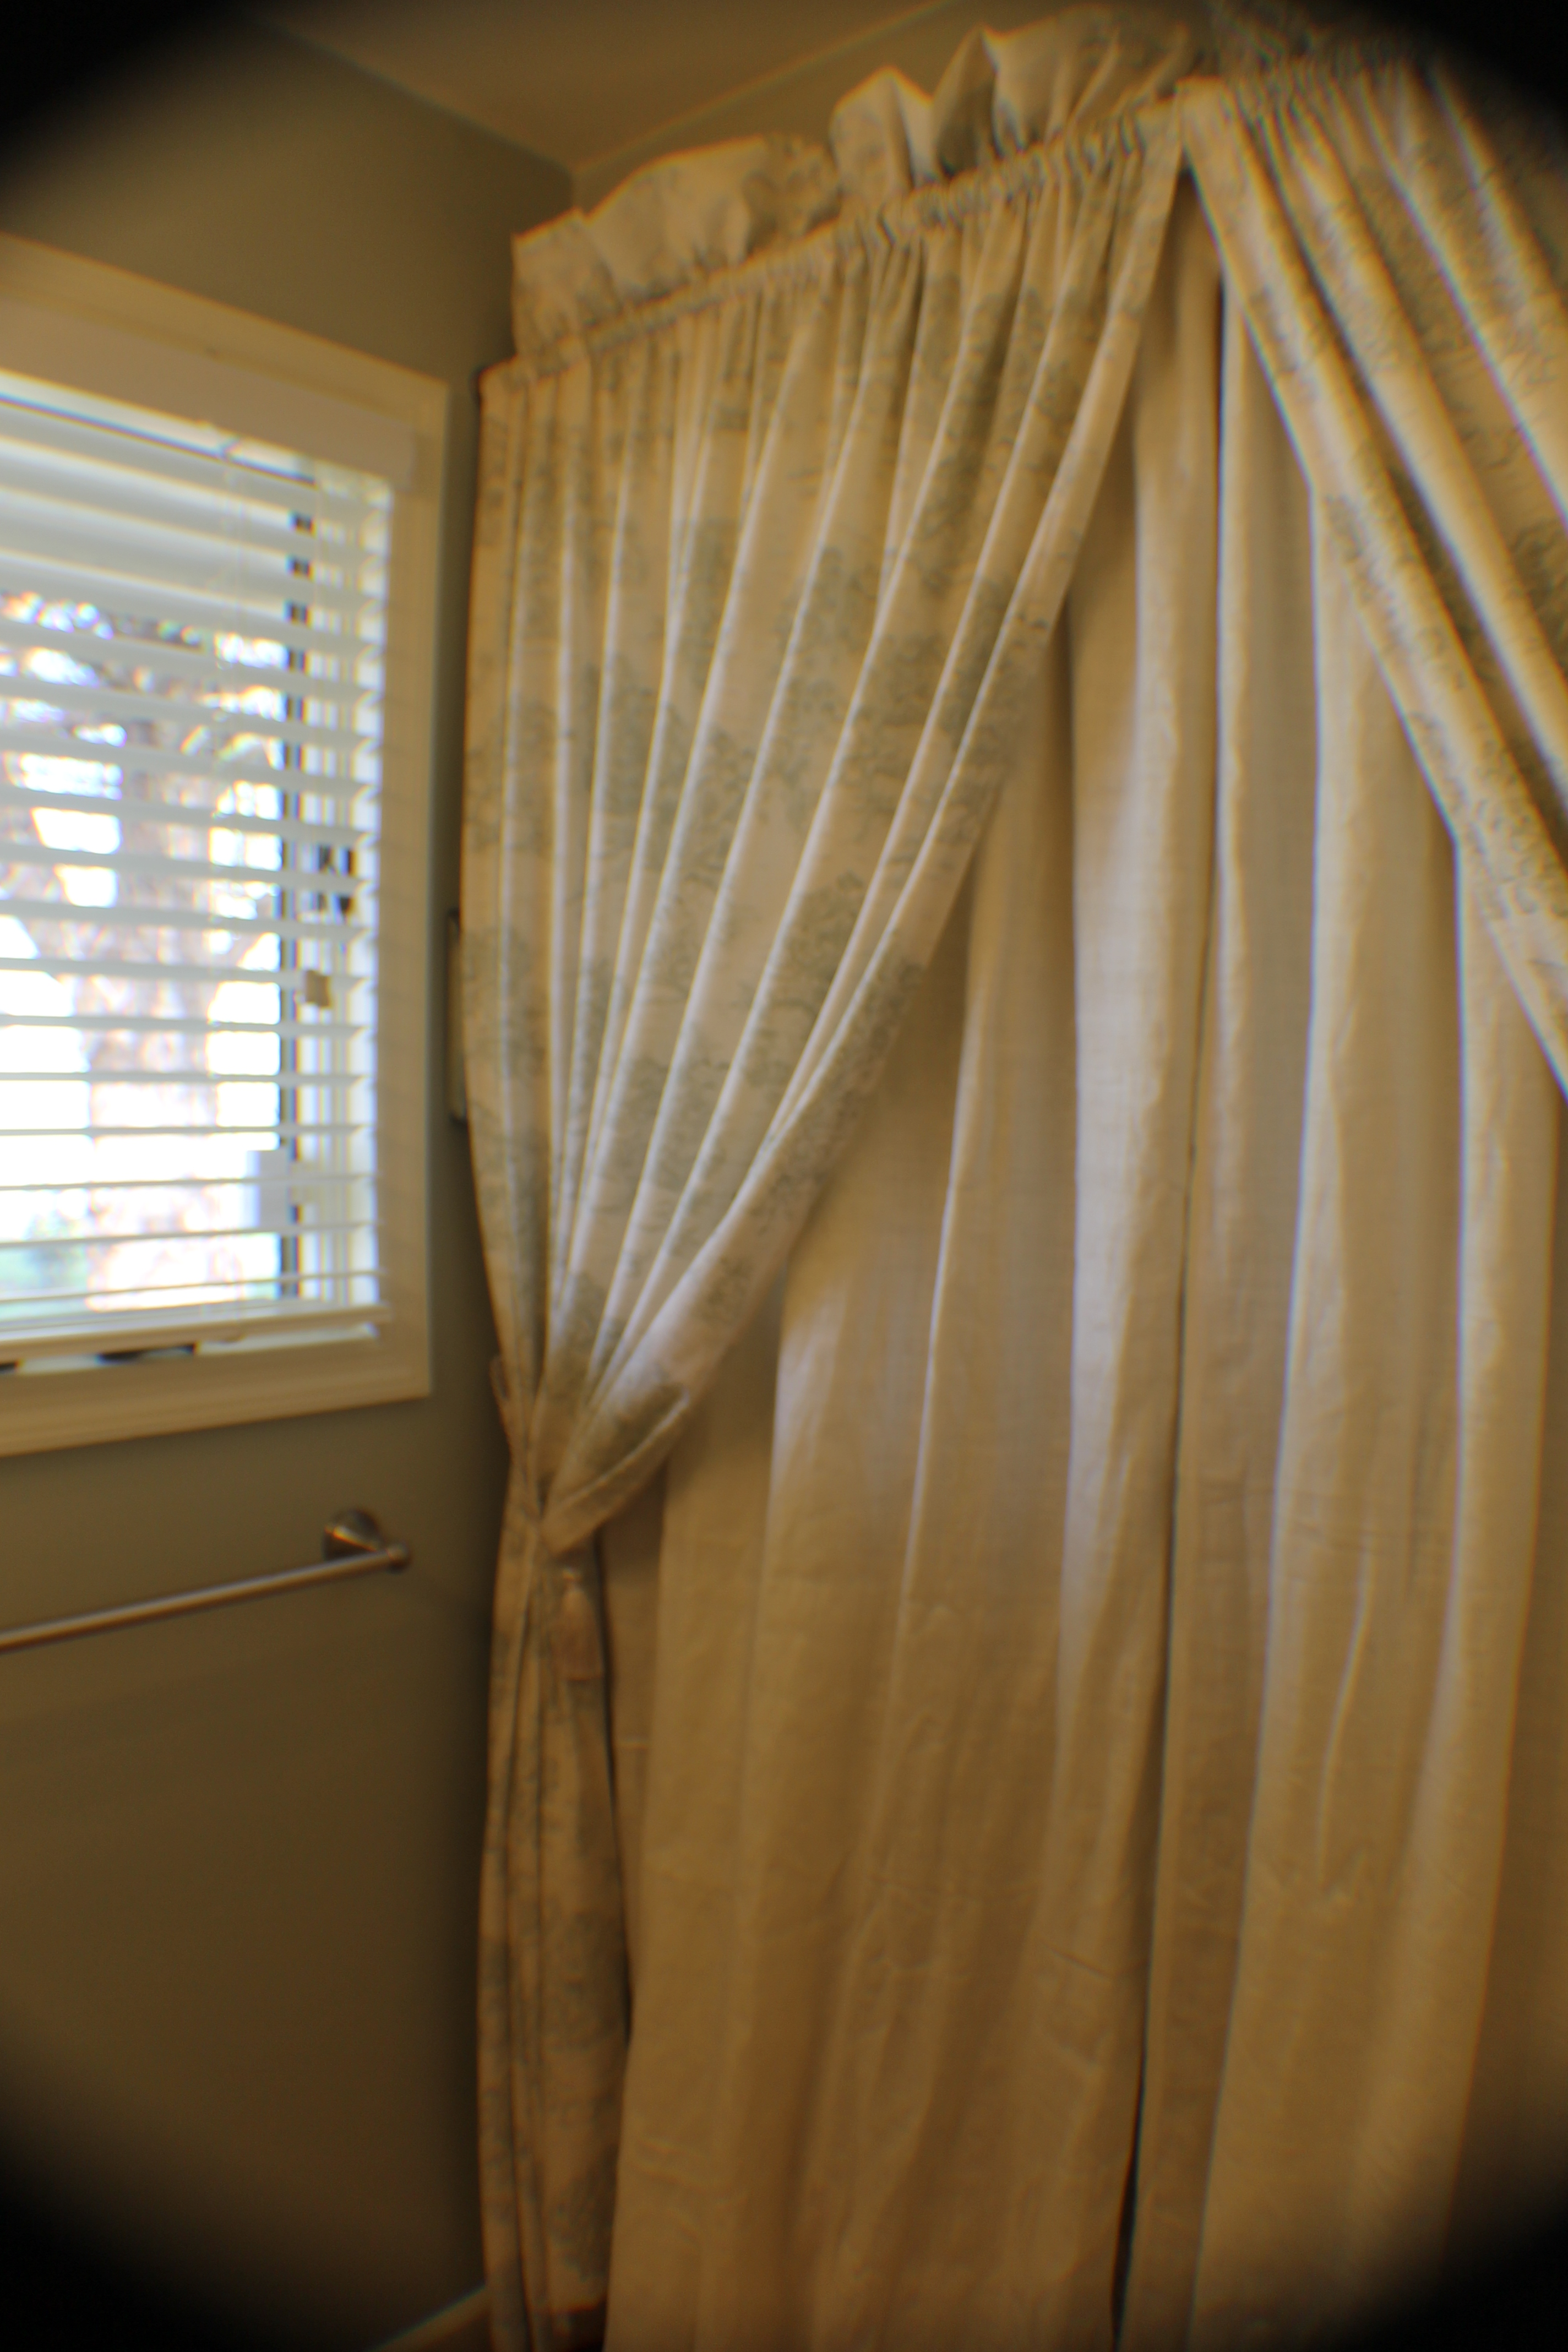
And finally the finishing touches would be a new shower curtain which I would make myself once I found the perfect fabric and a glass shelf which I had cut at a glass shop.
I still have a couple of finishing touches for the ceiling. I want to add some molding and glaze to a last coat of paint but that will have to wait because it’s garden time!
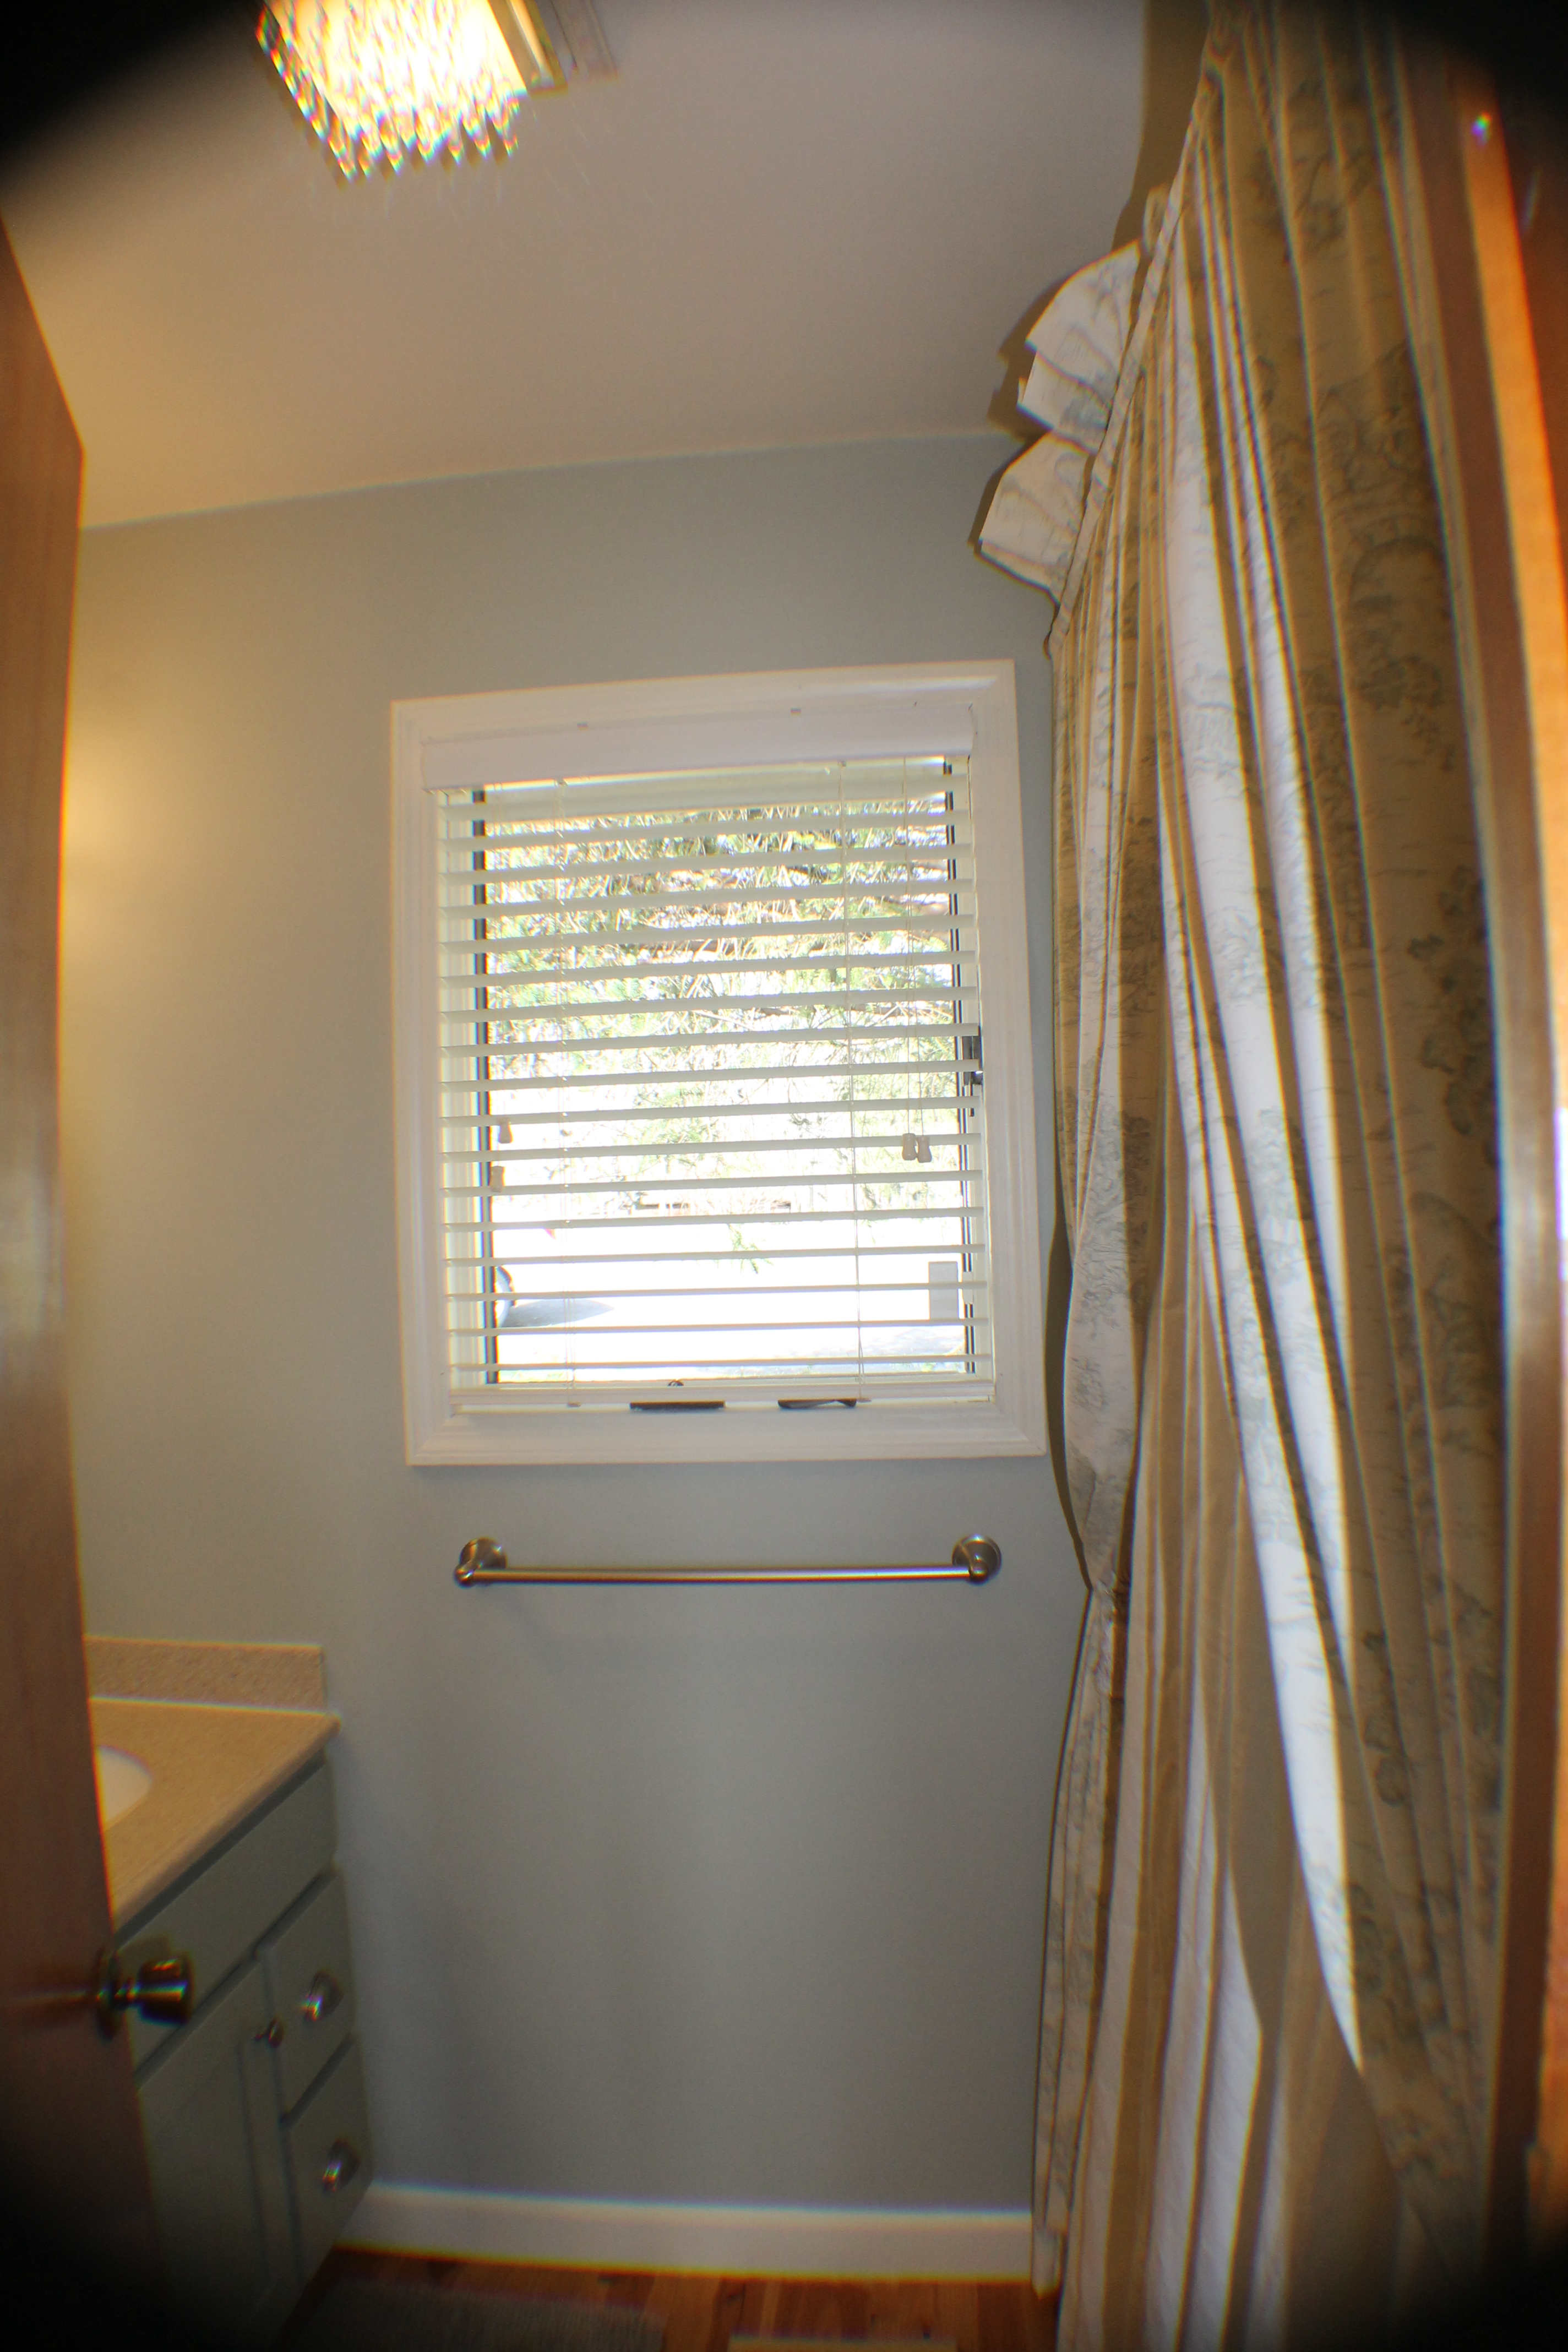
Here are the photos. A wide-angle lens would have helped but they’re not too bad. And I’ll save the best for last!
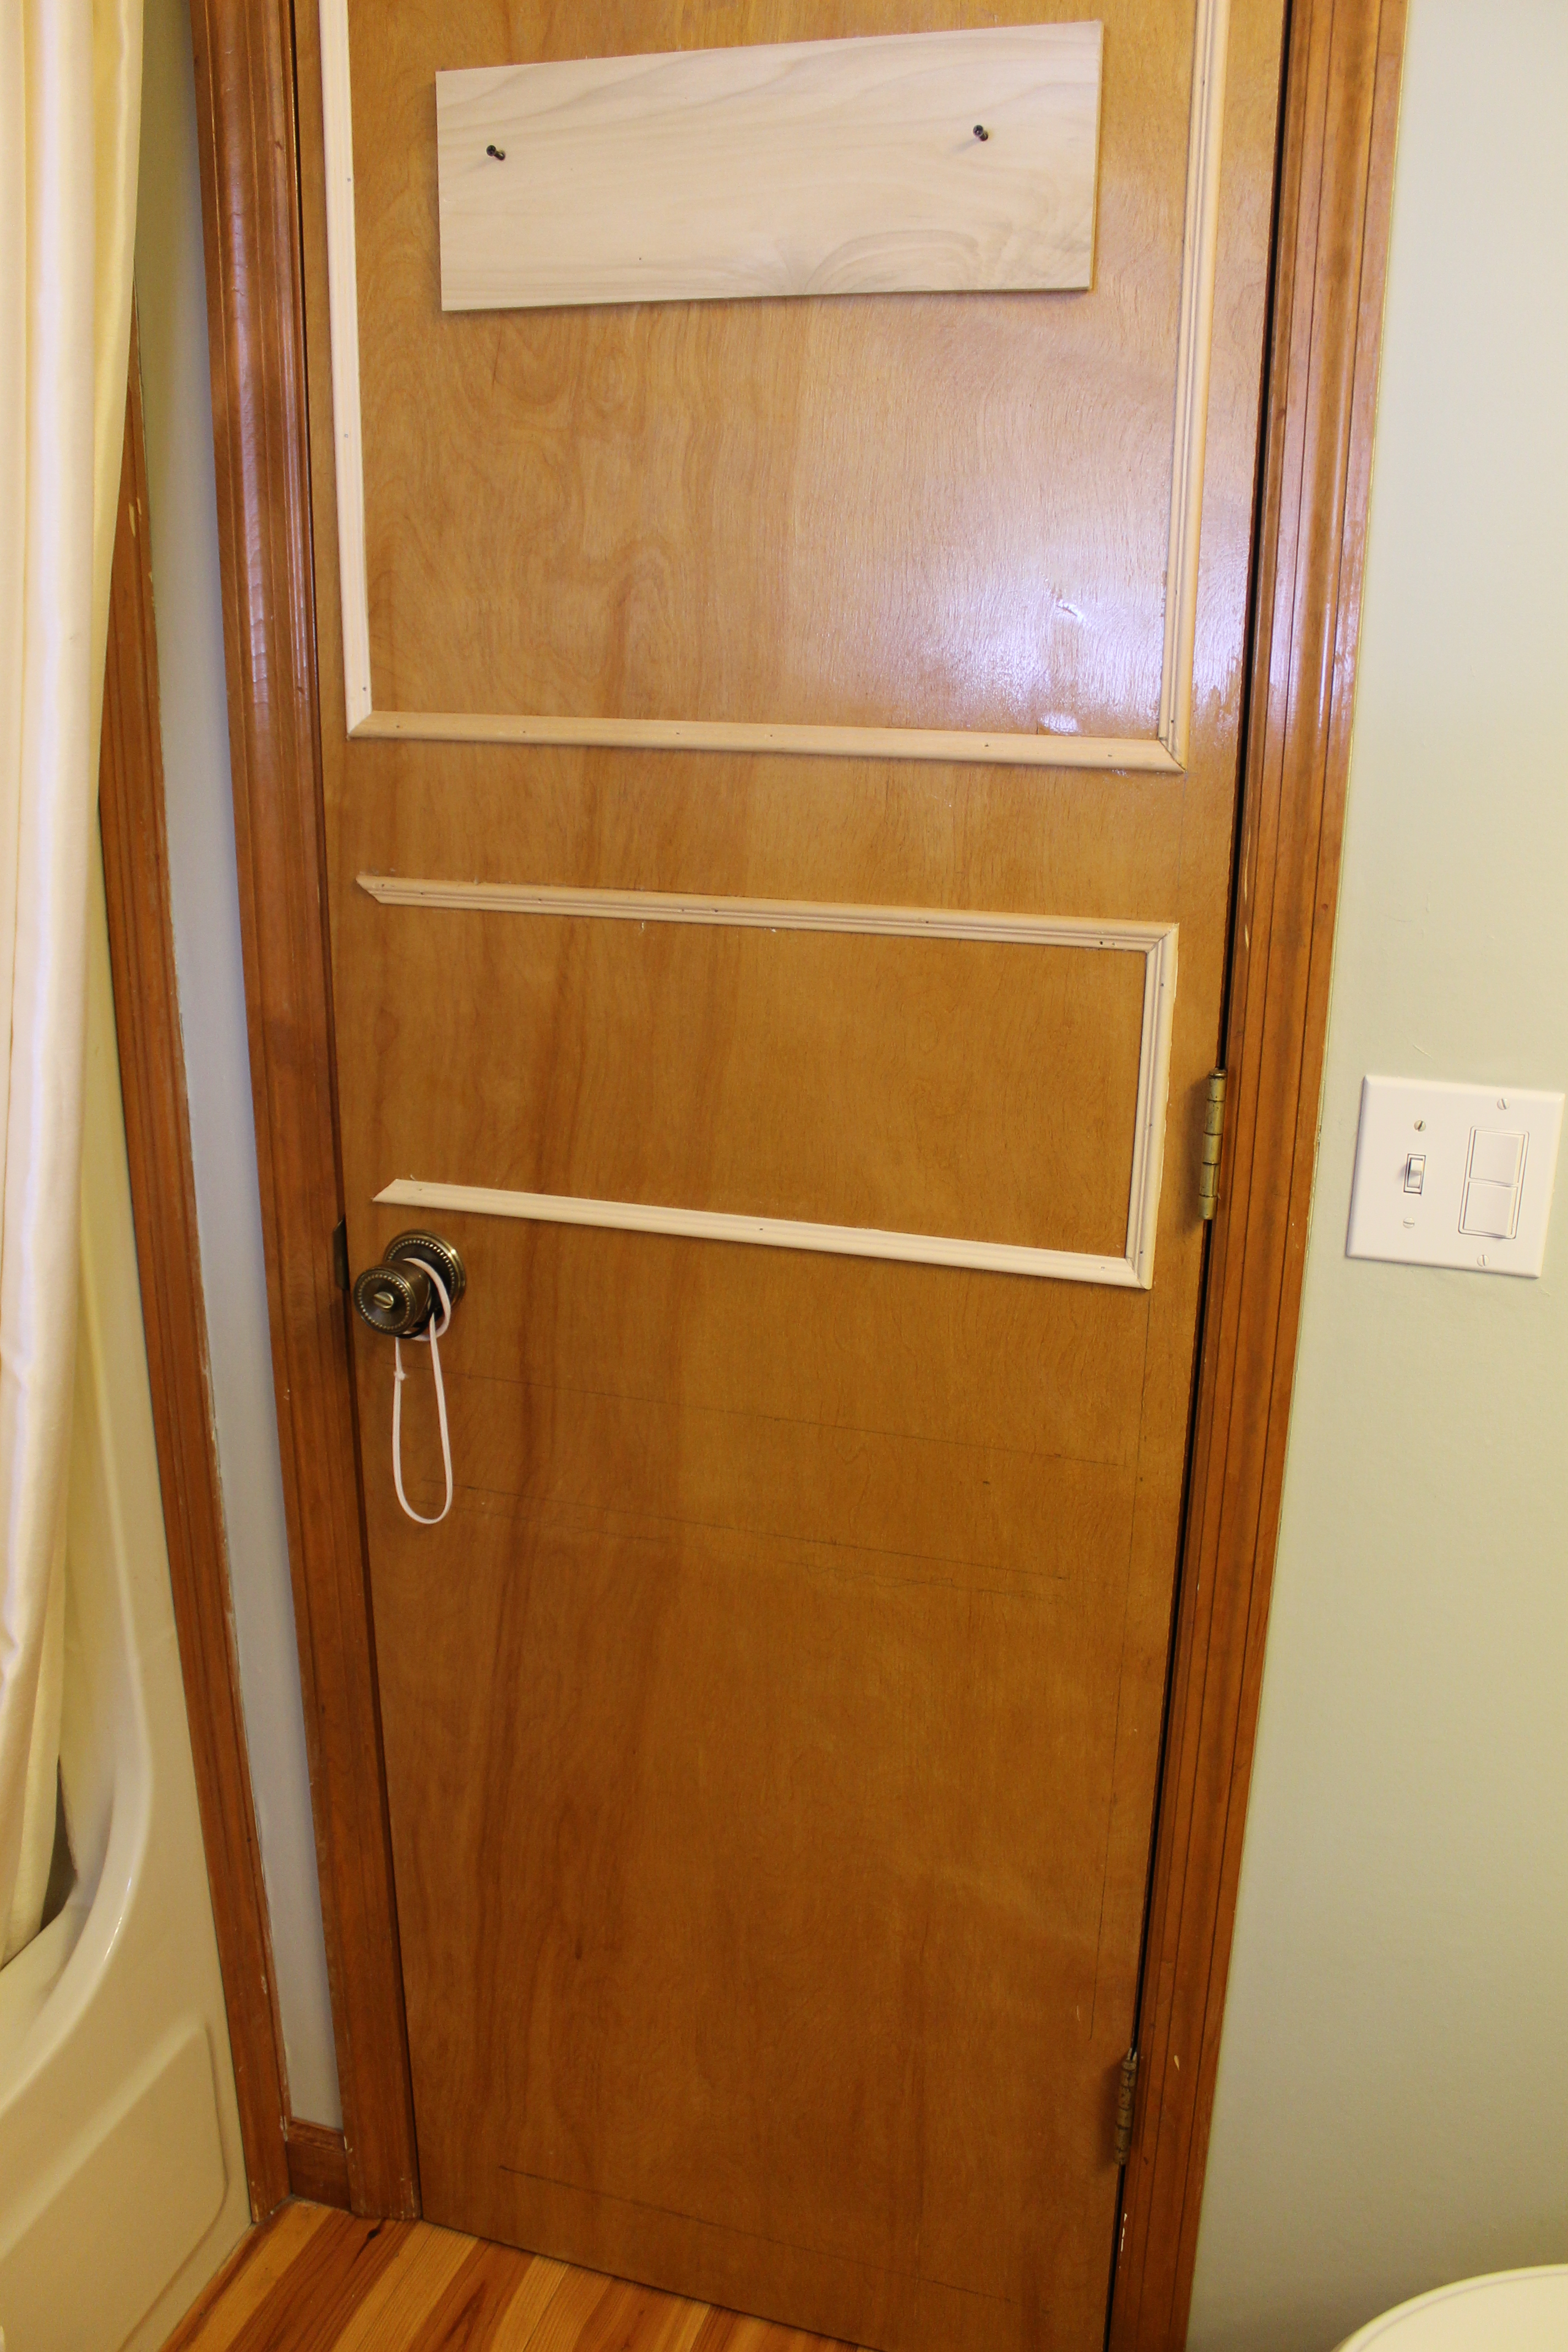 I decided to add molding to the door
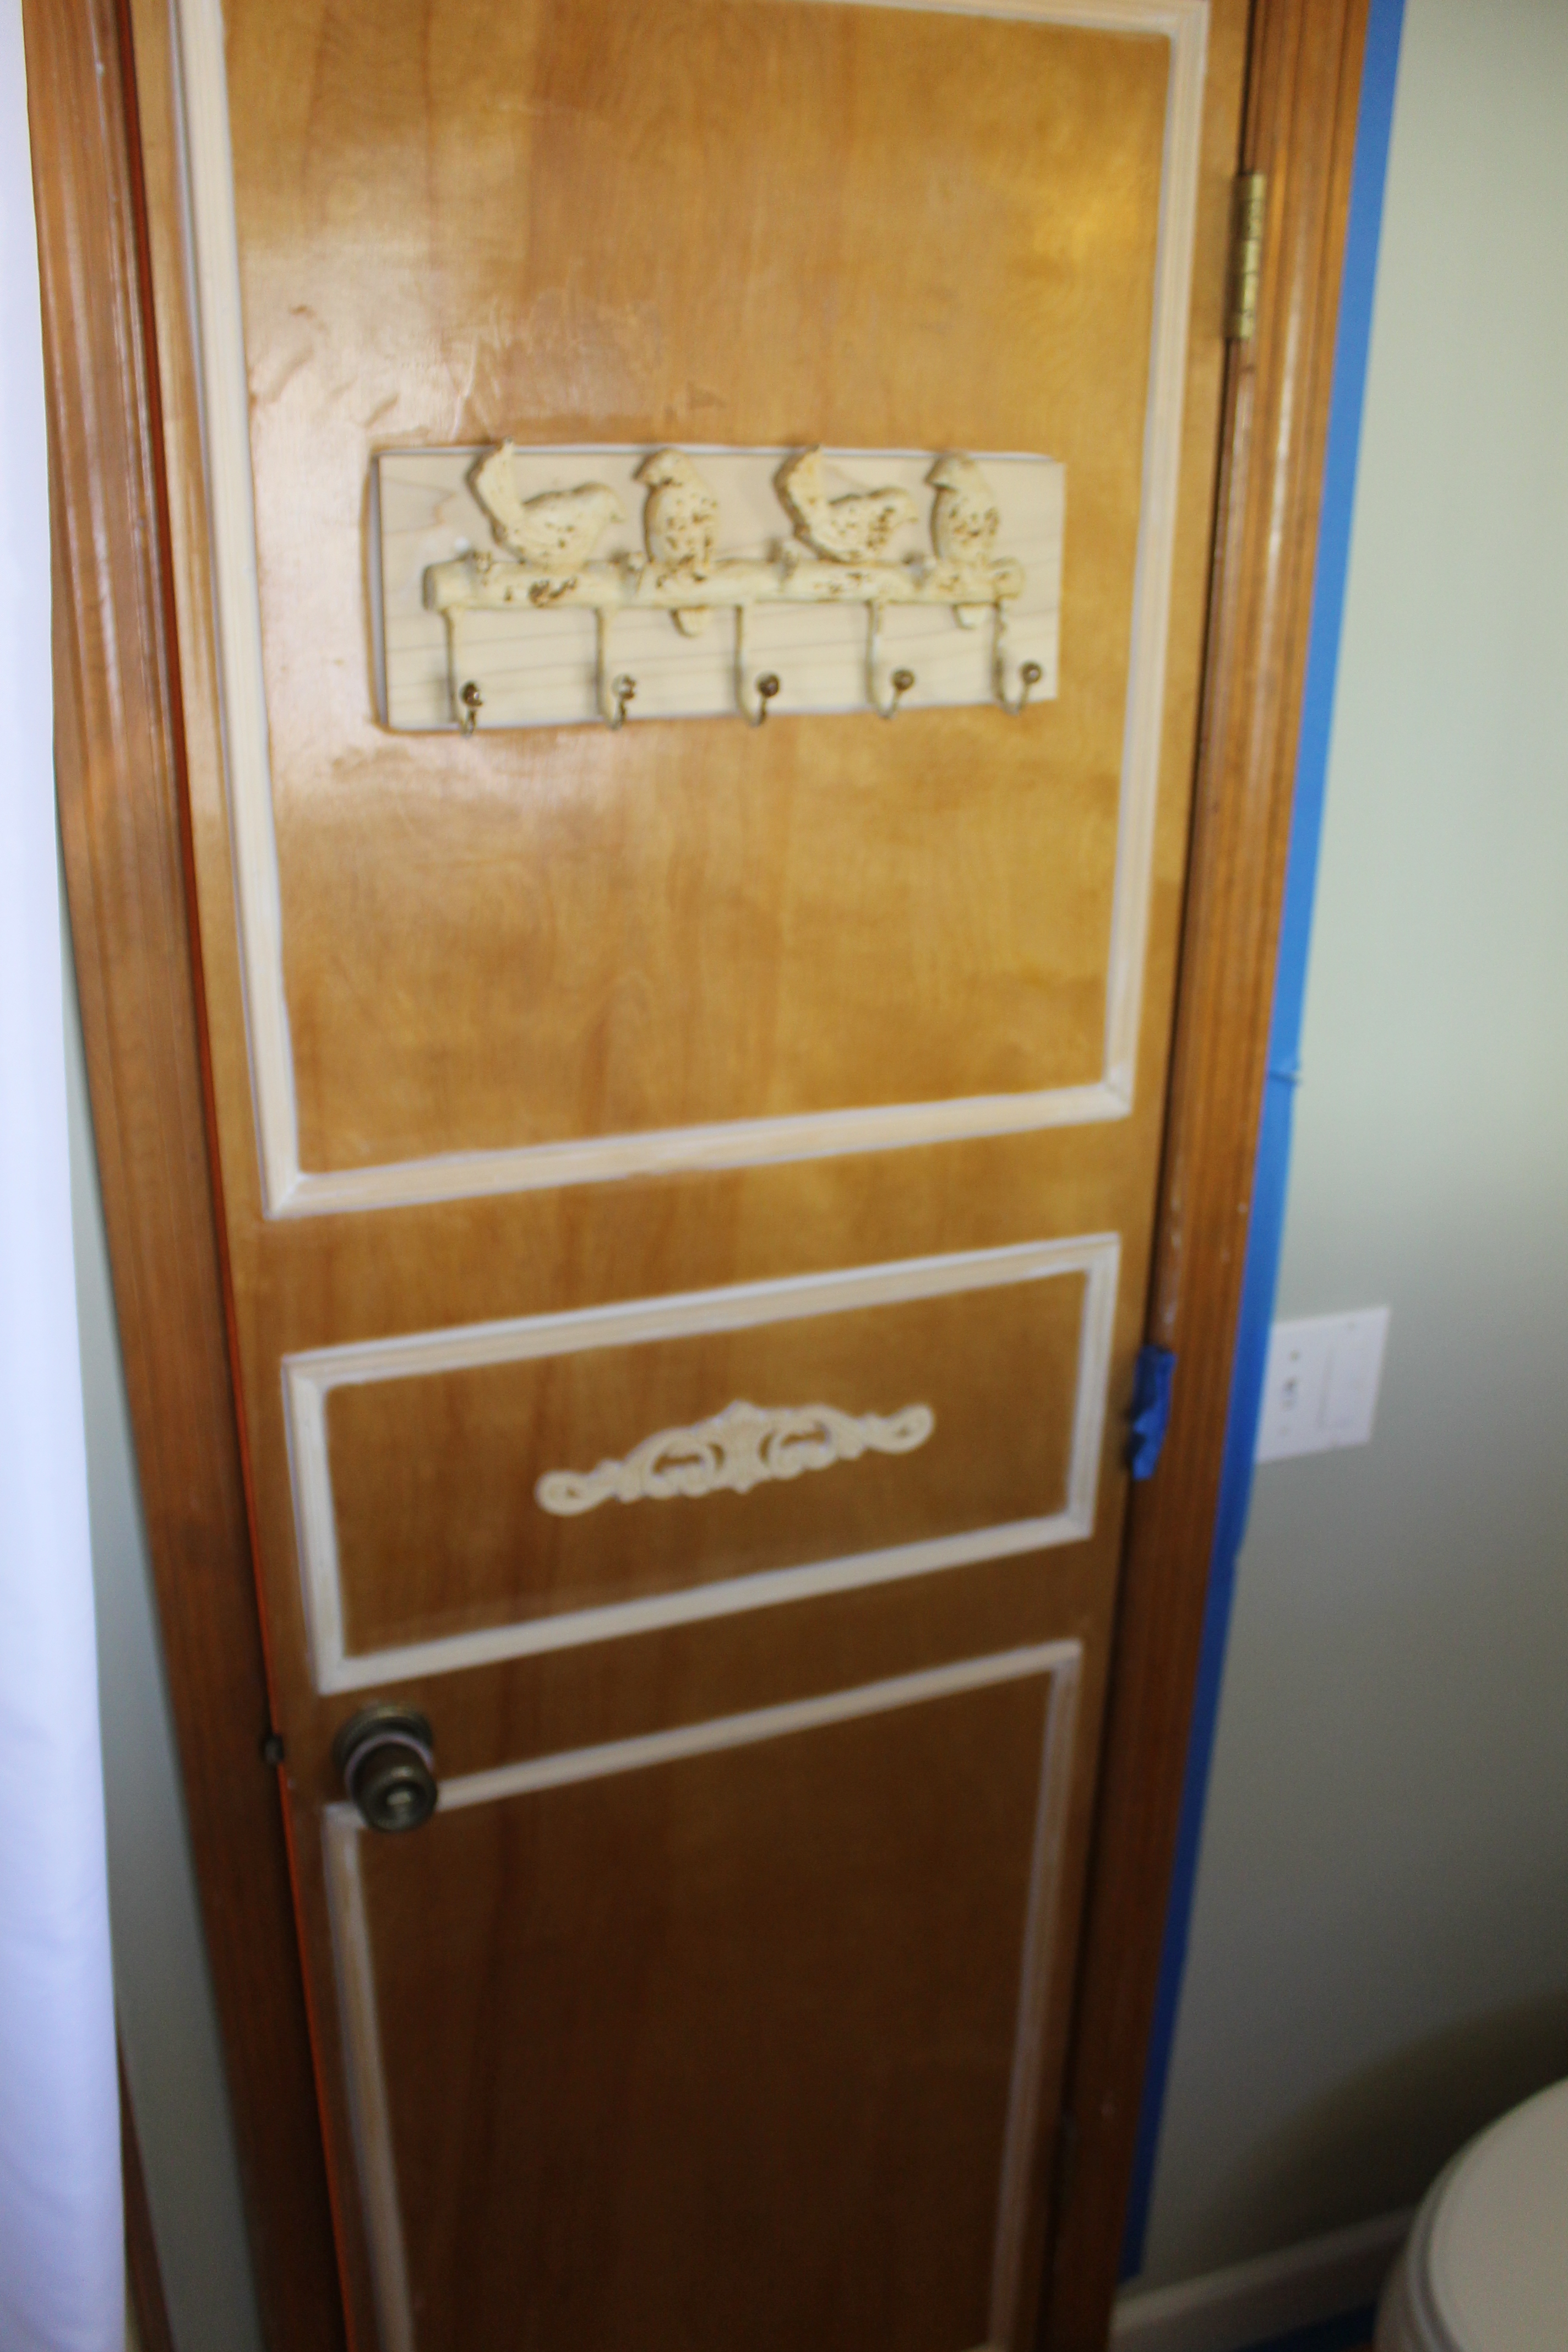 Lots of molding!
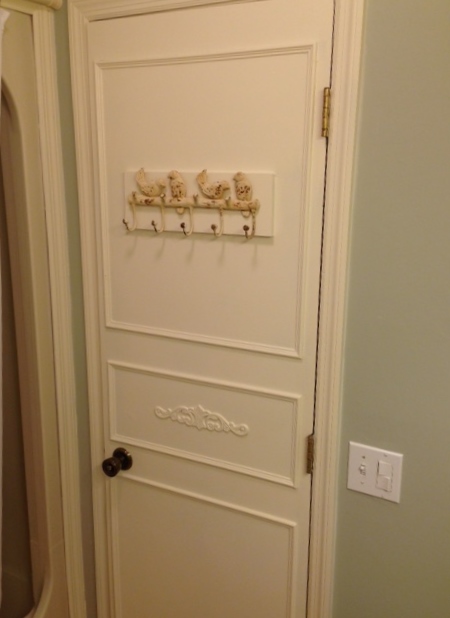 And then to paint it all! I absolutely loved this transformation. Note the trim has been painted white too.
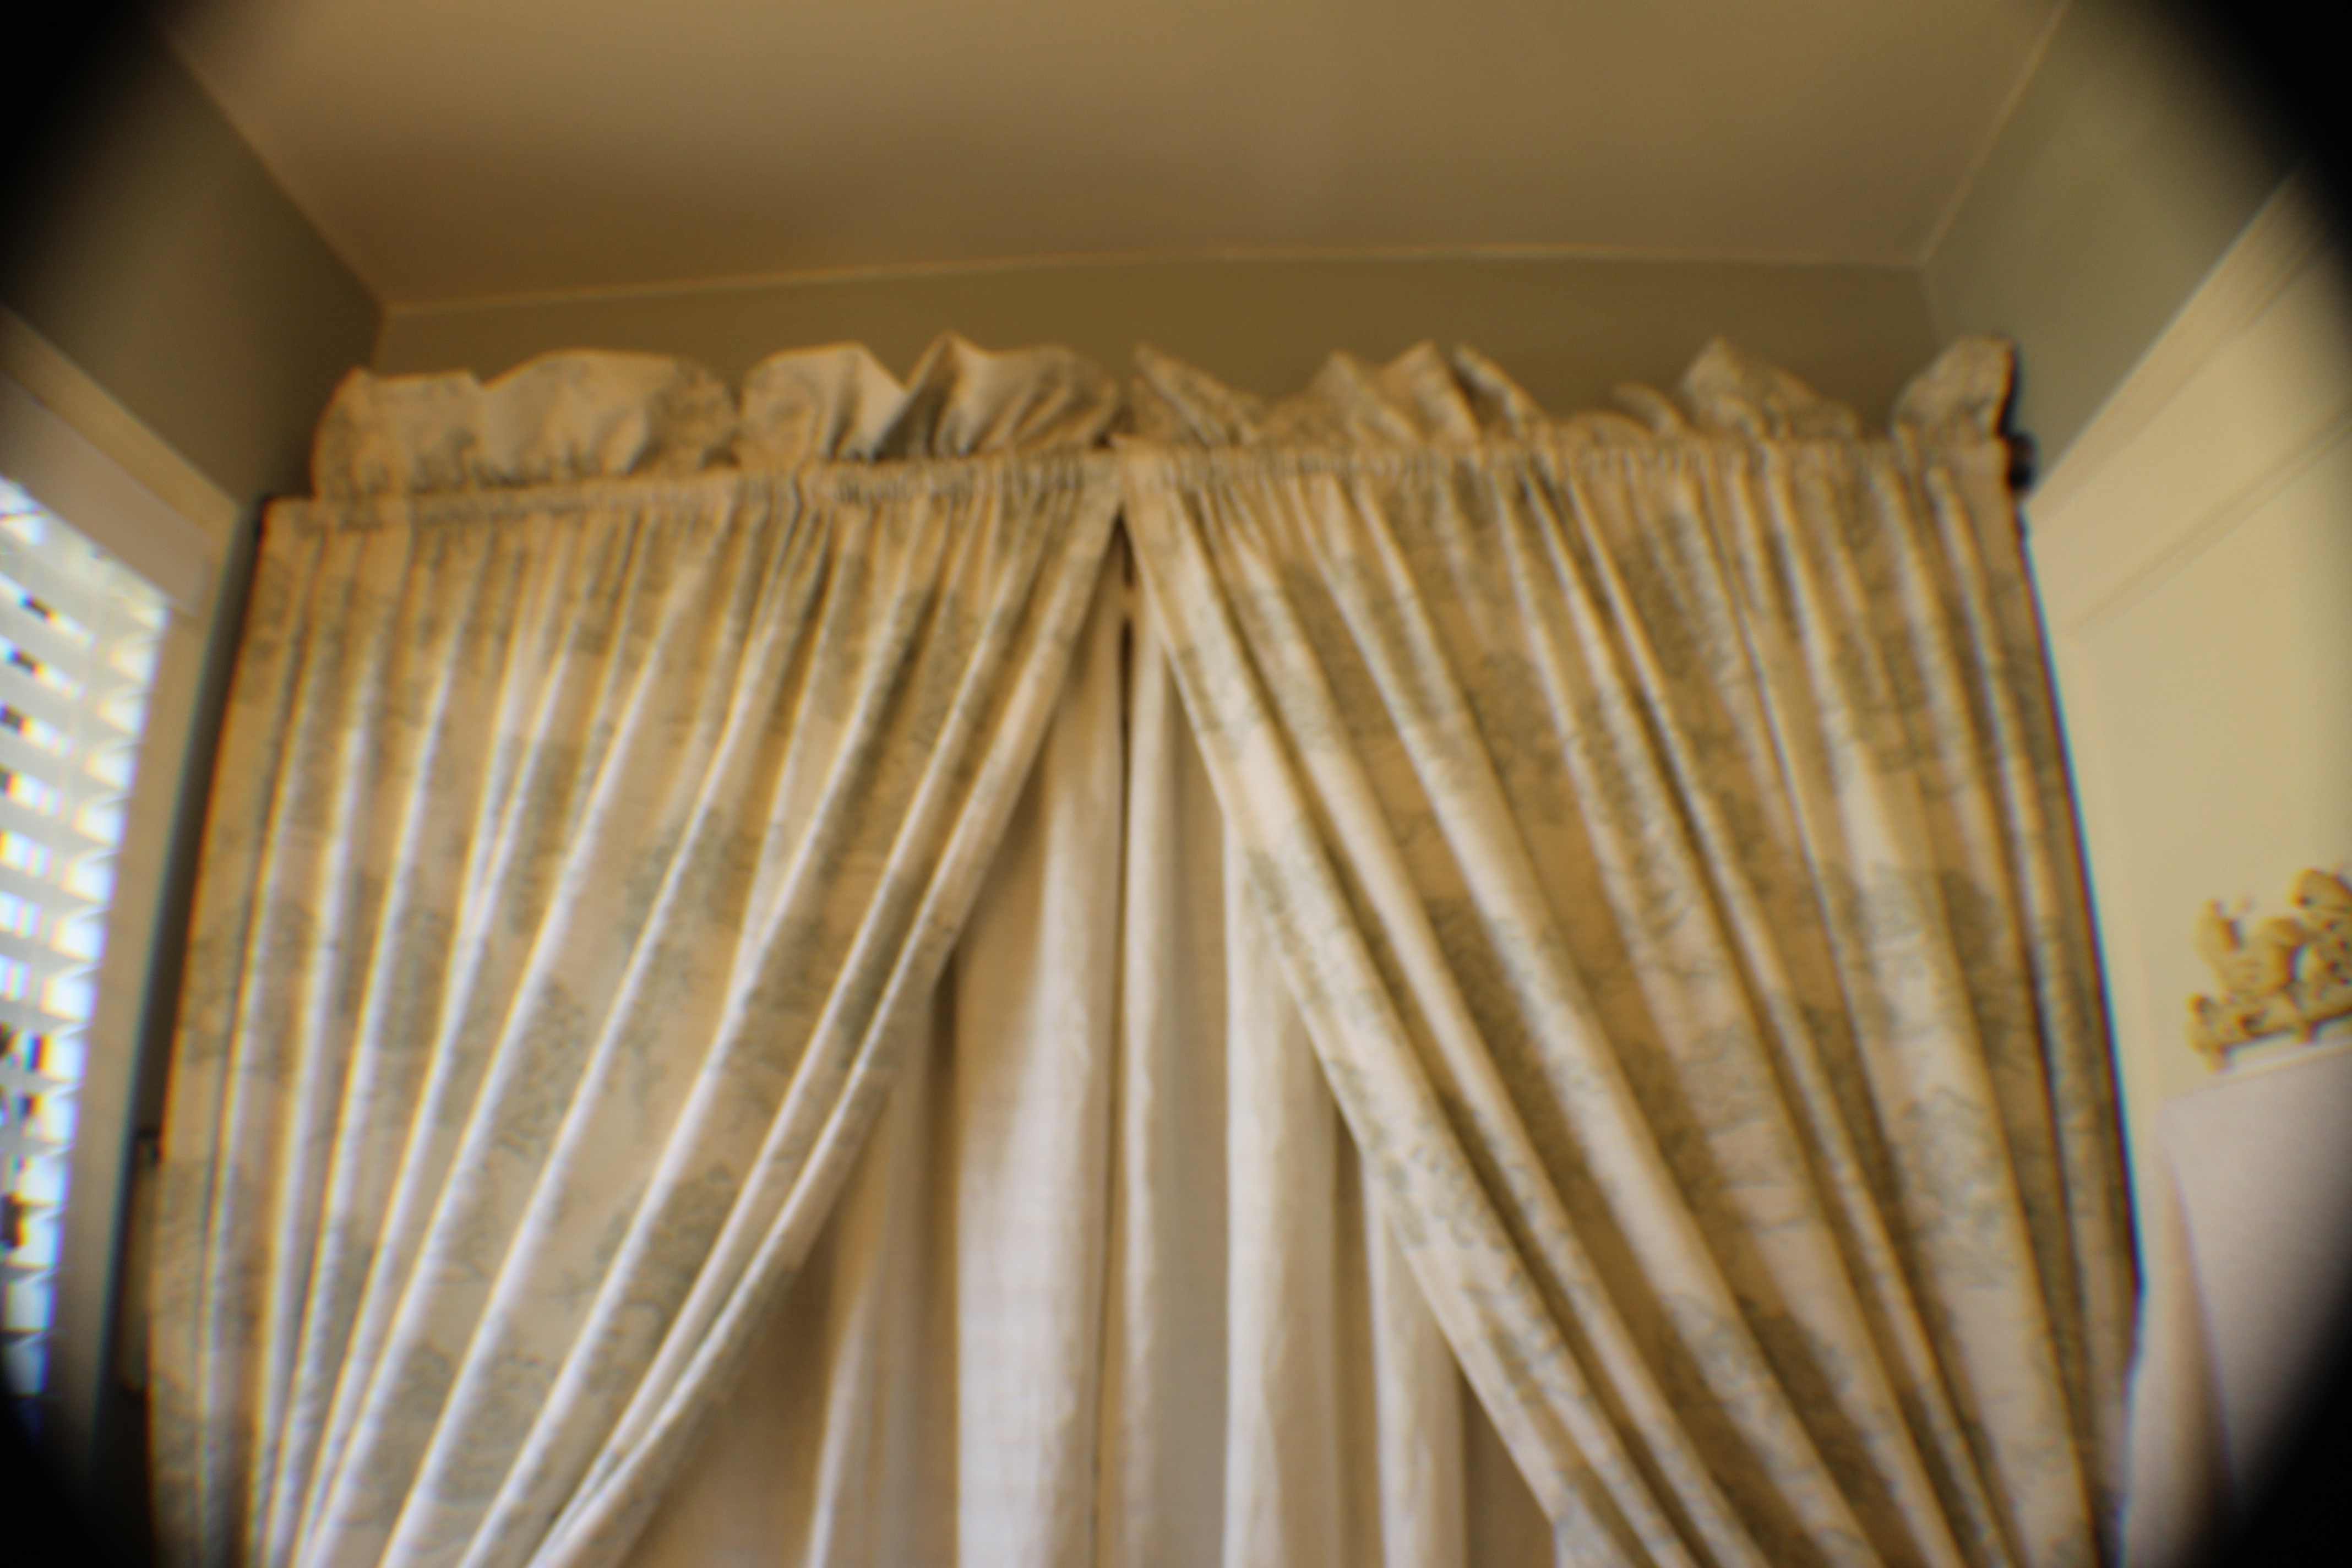
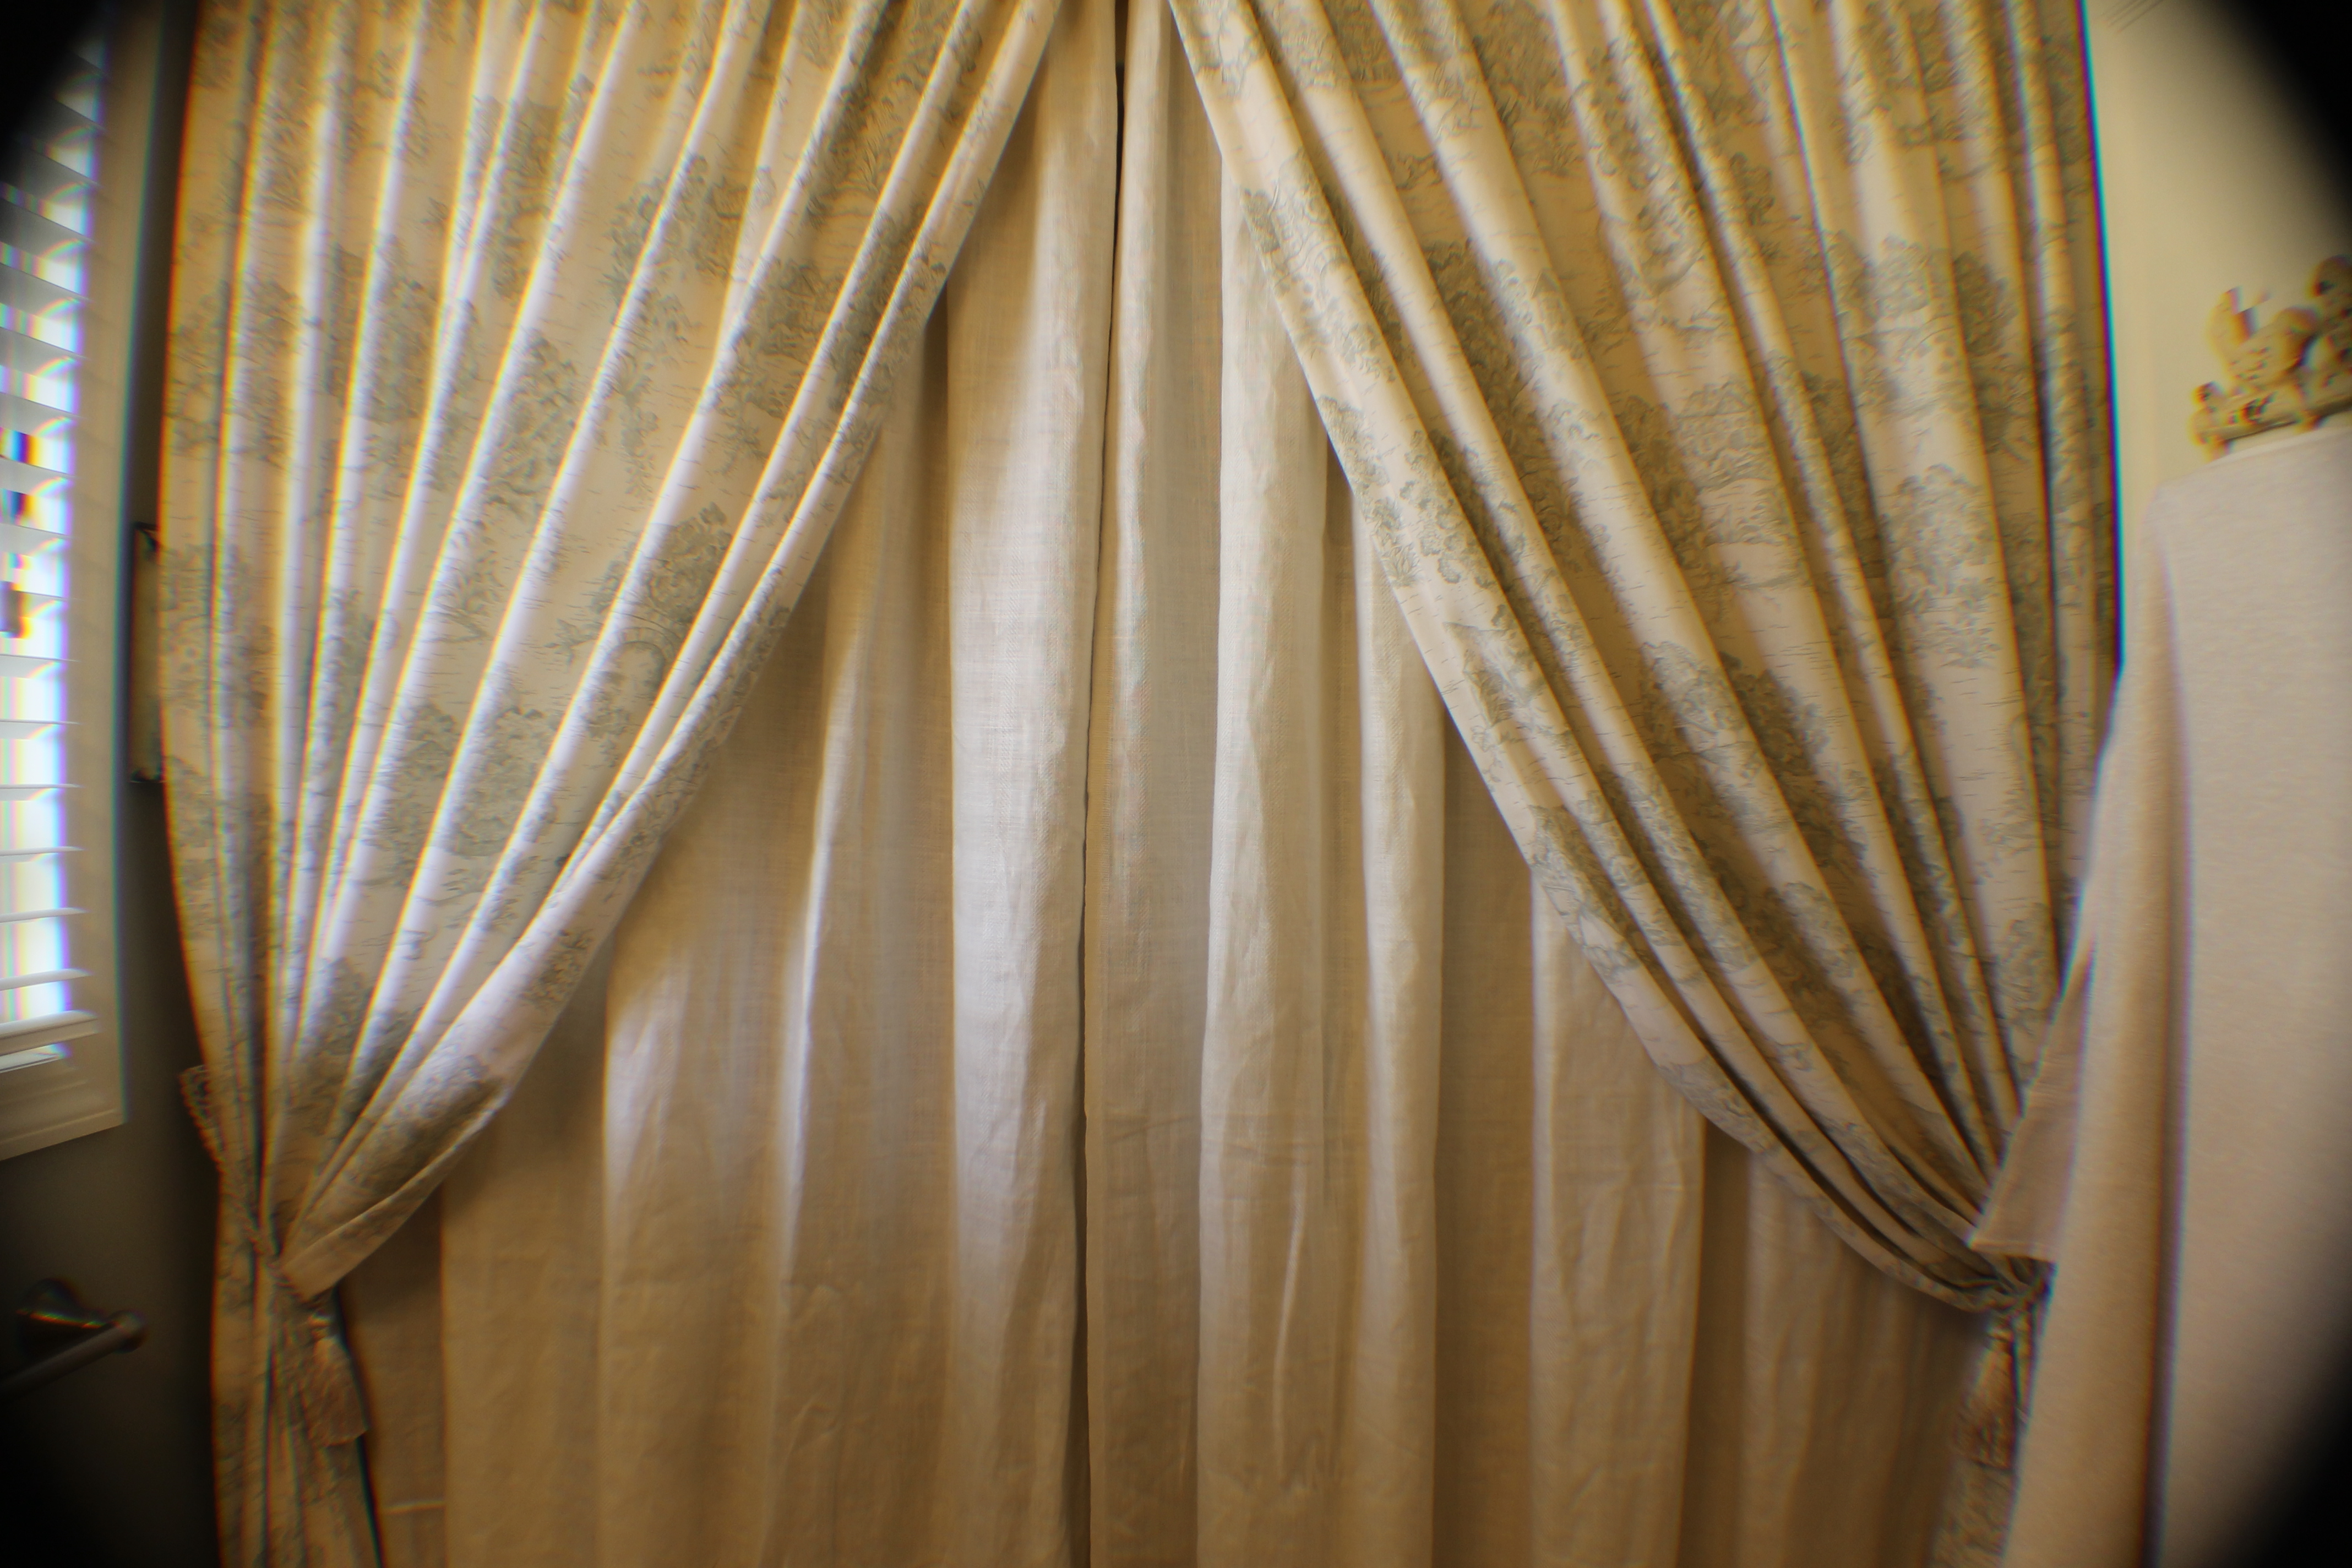 I found the most beautiful Toile fabric at Fabric.com and paired it with an ivory colored linen
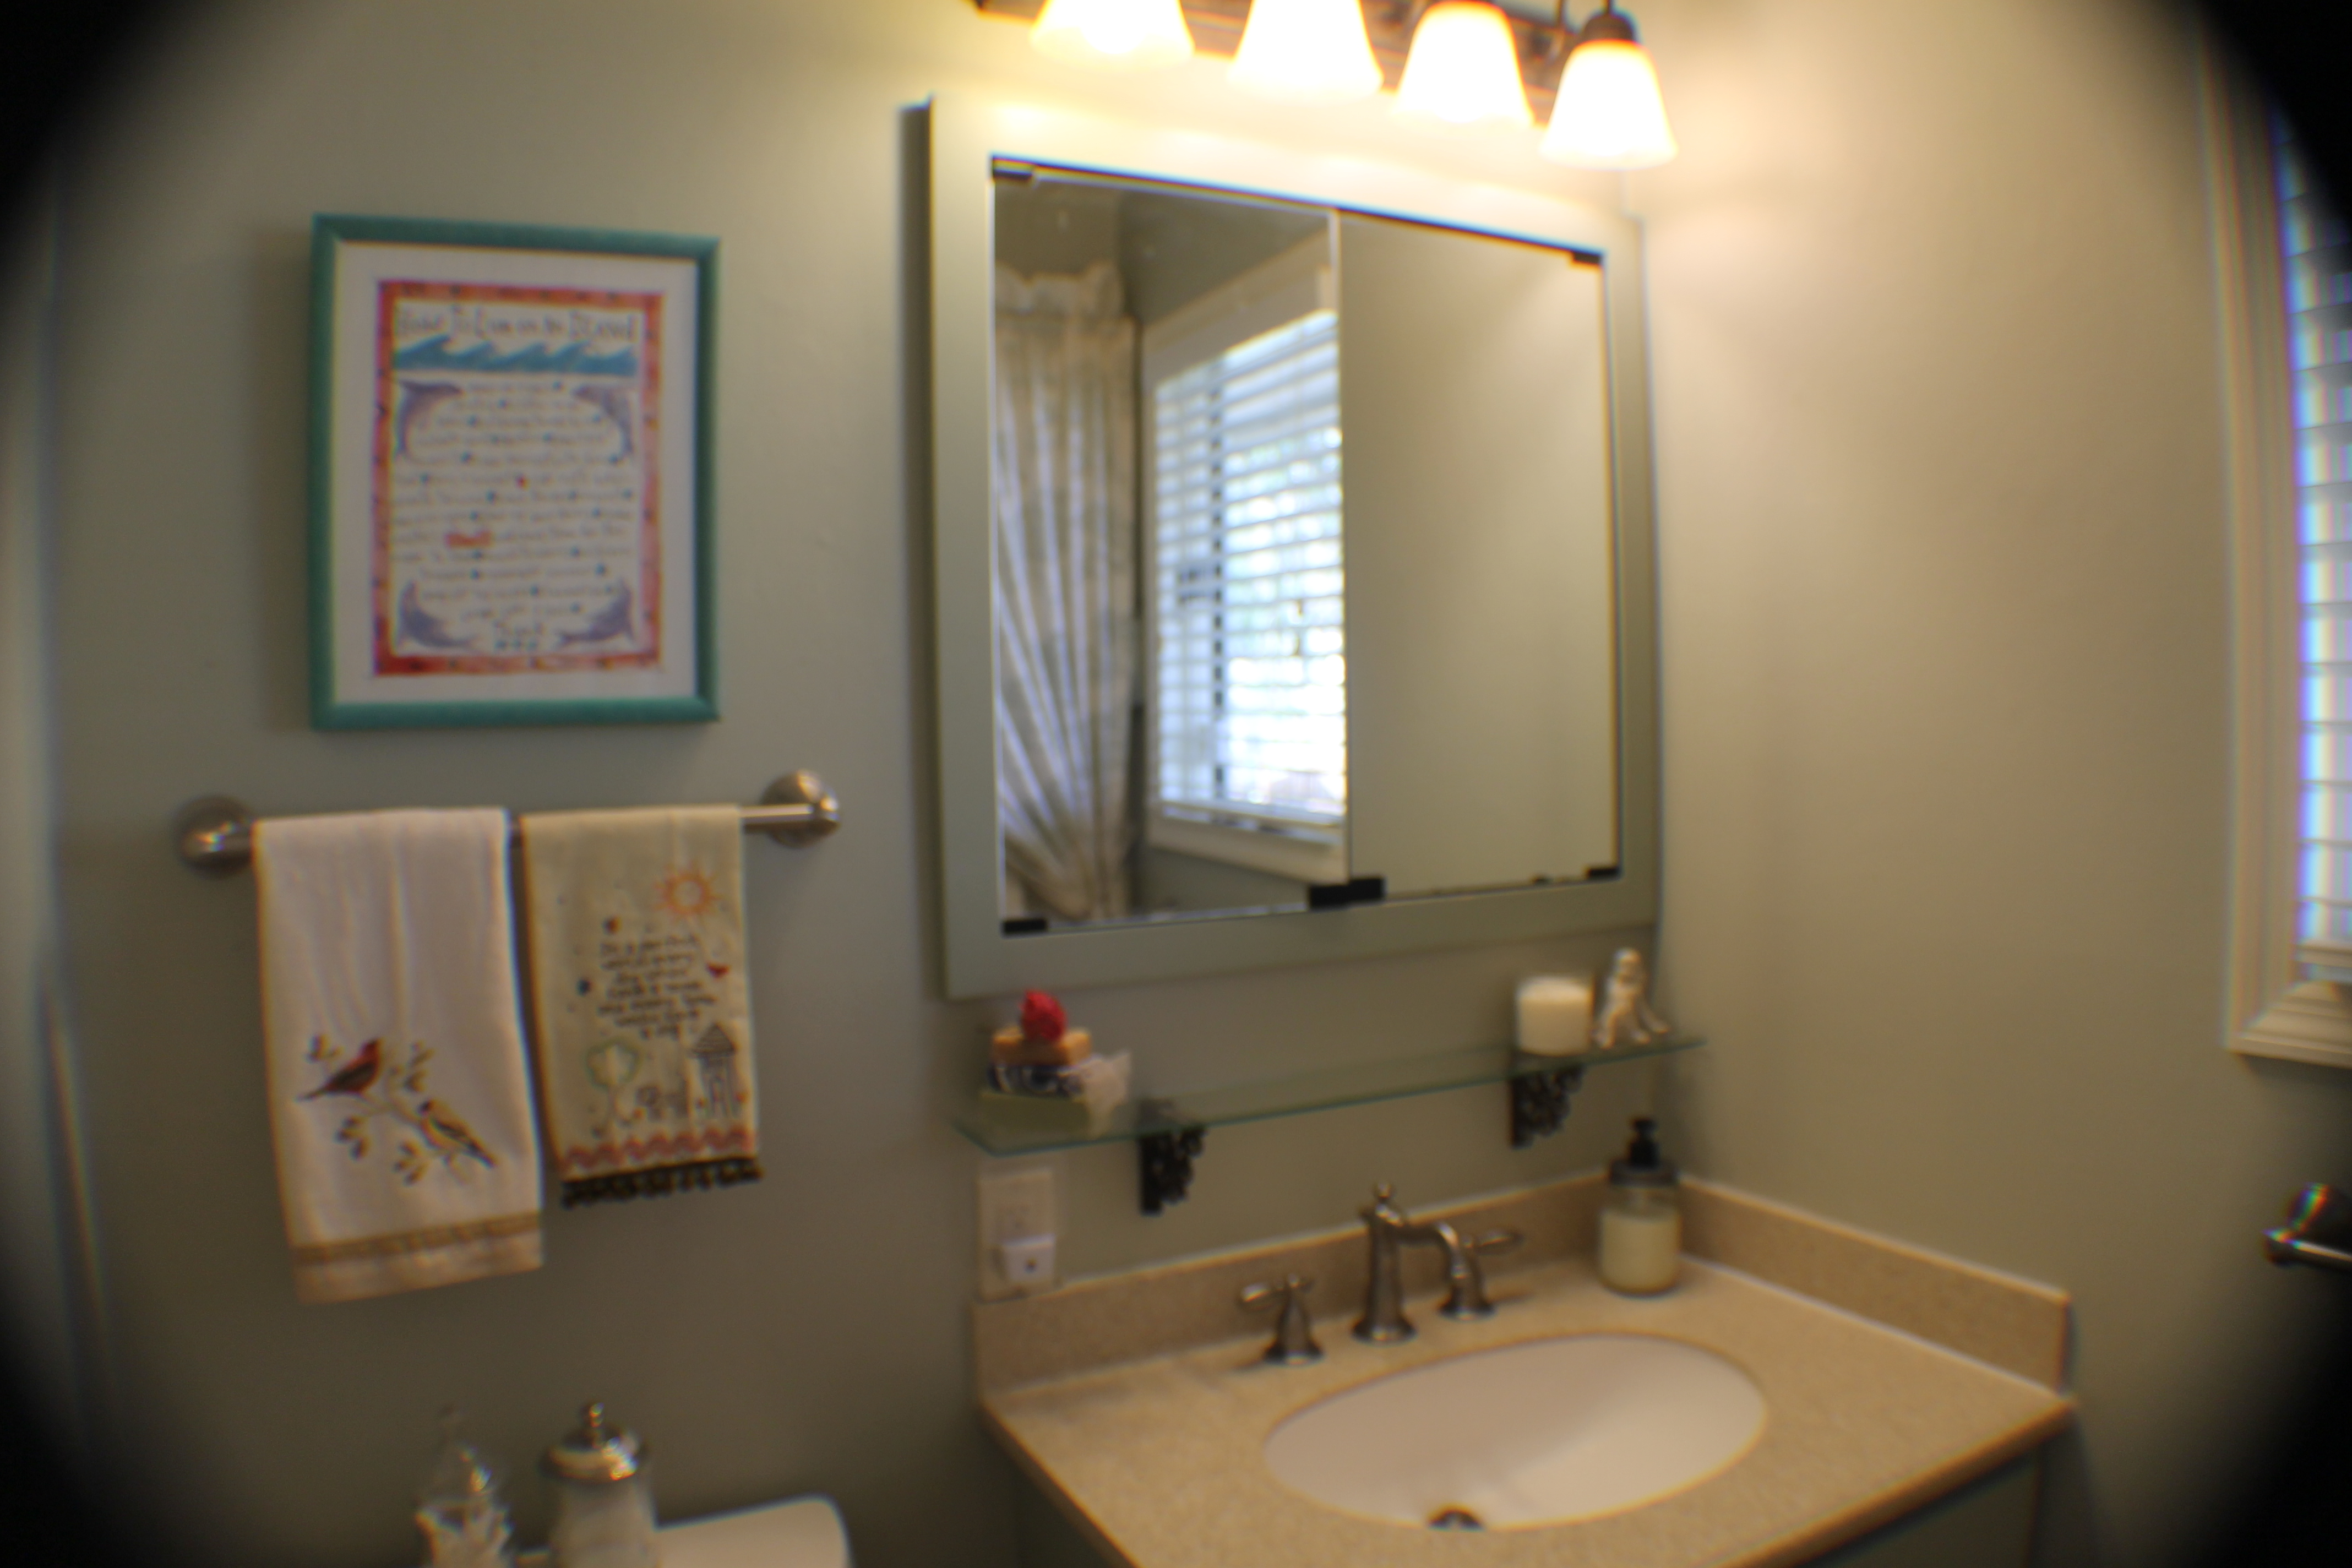 Above and Below: The glass shelve I had cut at a glass shop. We could not find the 4″ shelf brackets to fit the glass but my dear husband was able to shorten them using a grinder. Good job, Manuel!
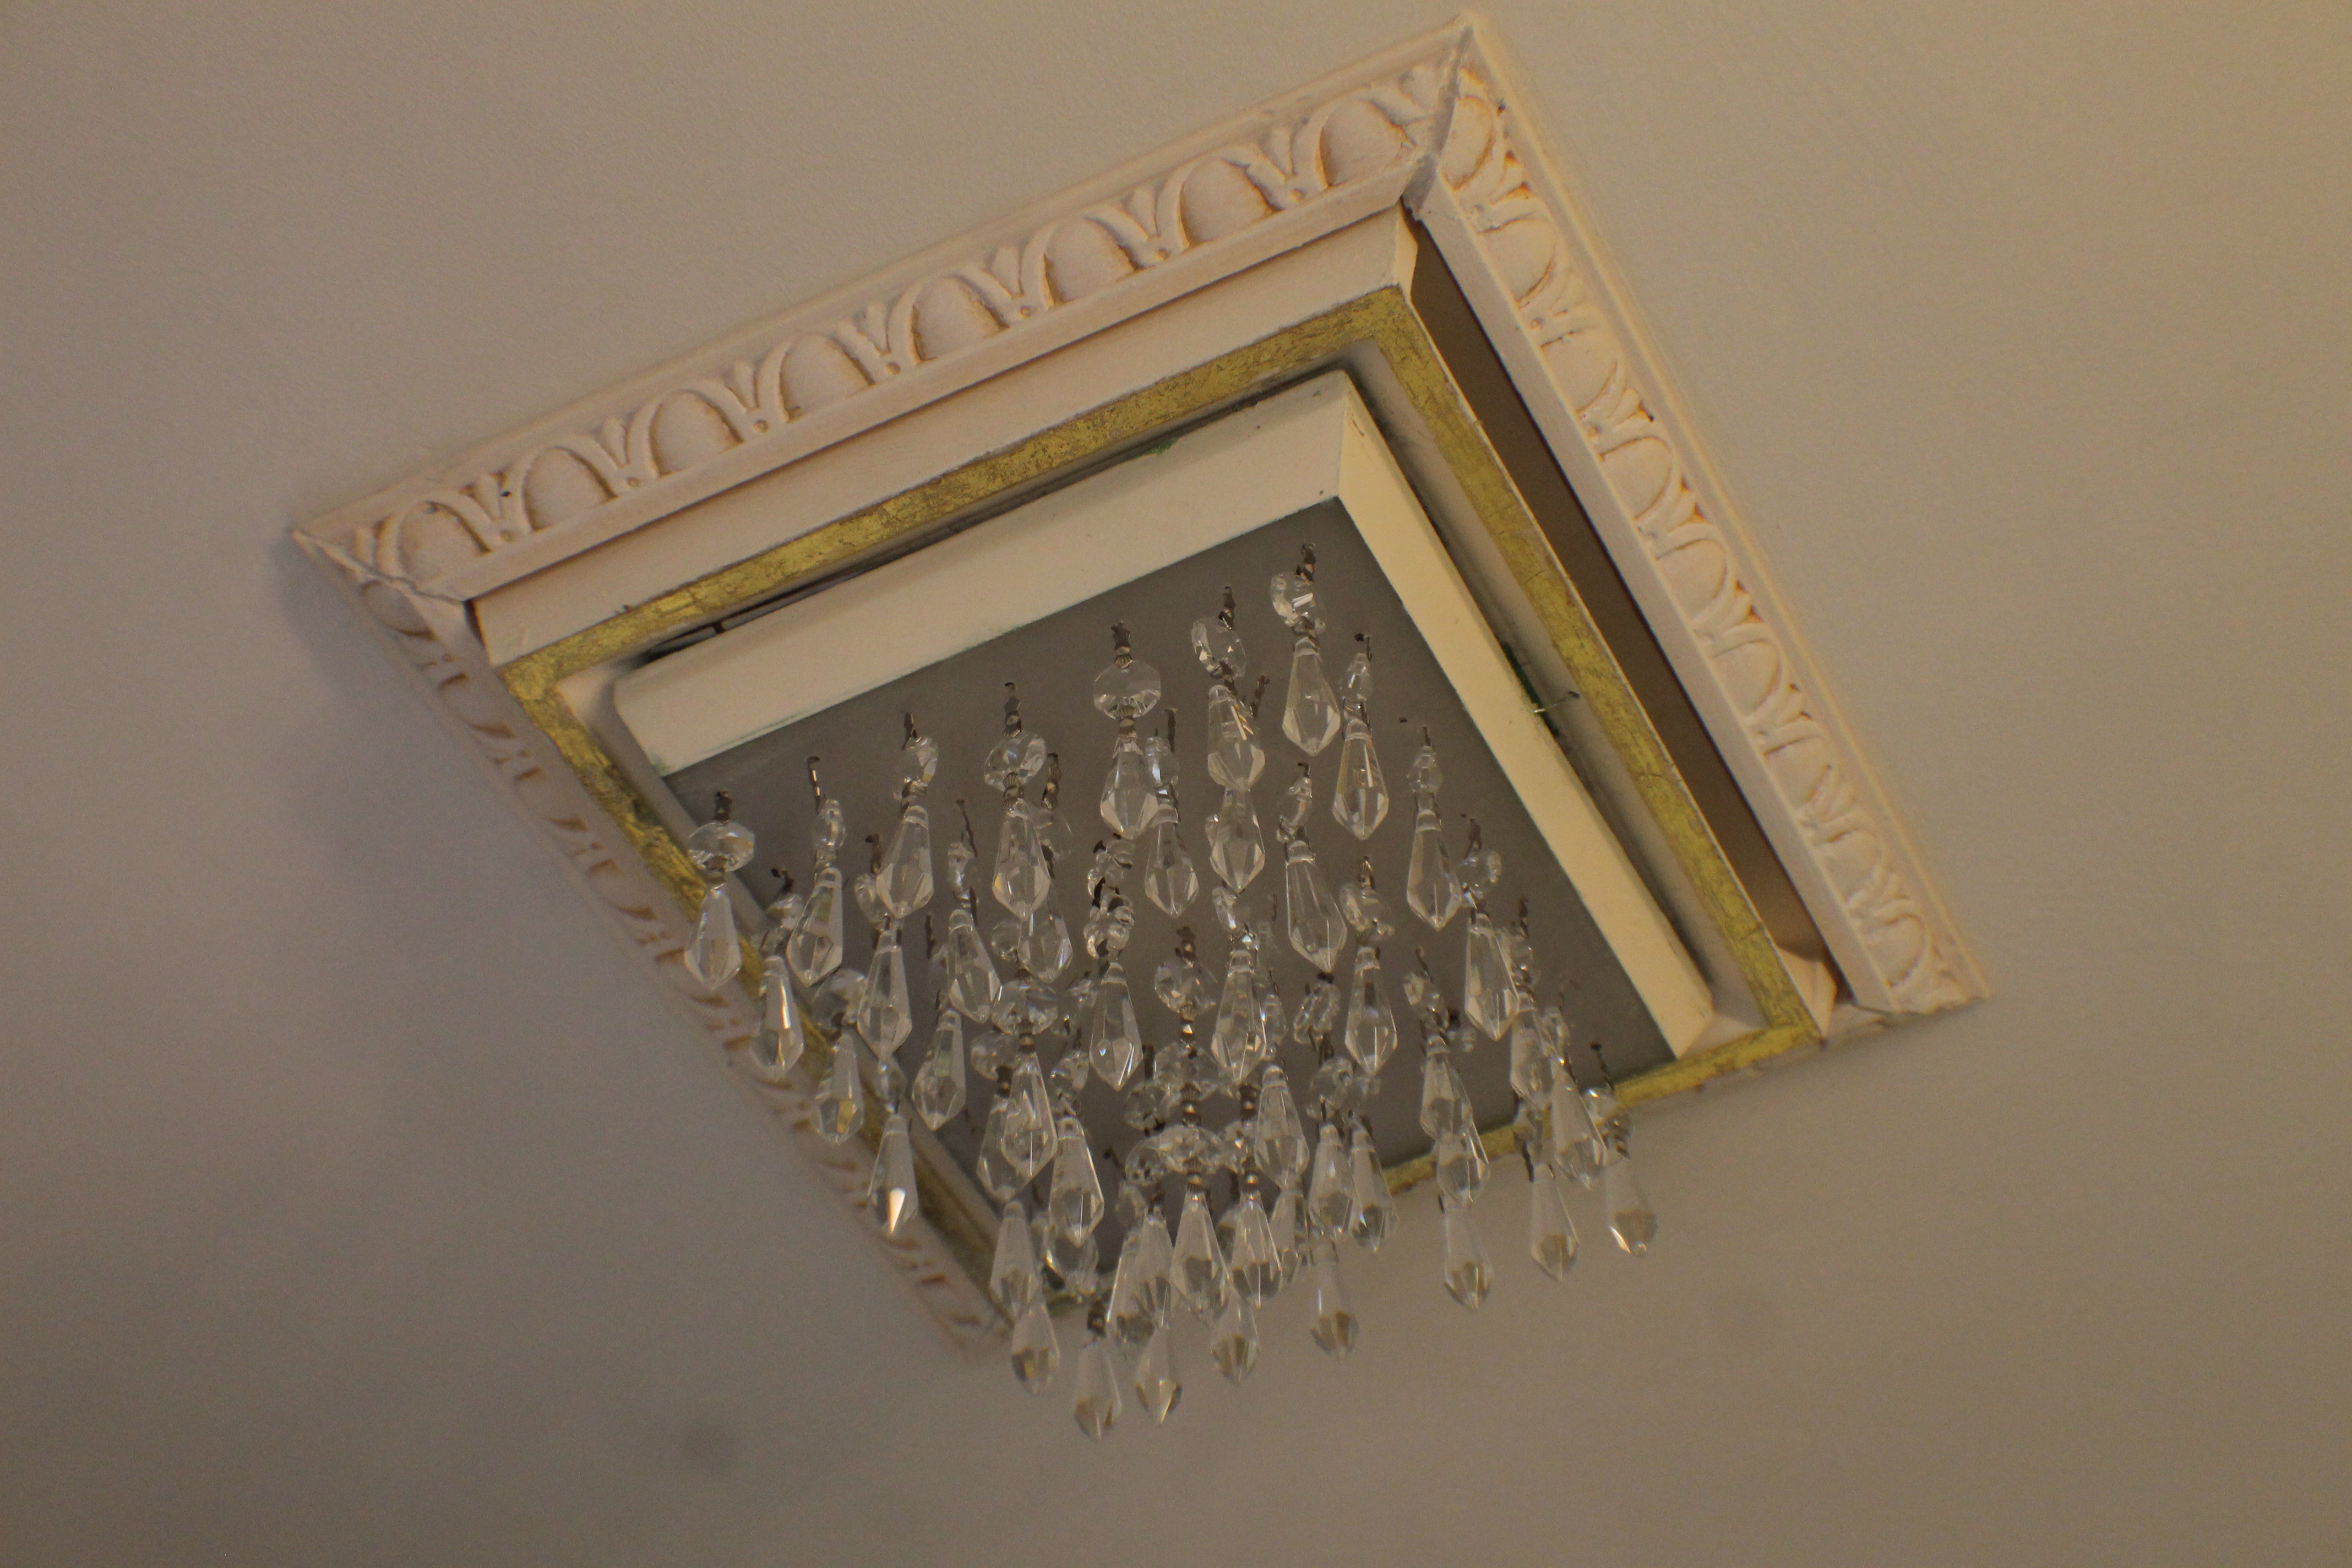
 And now for the big reveal of my favorite and most challenging part…
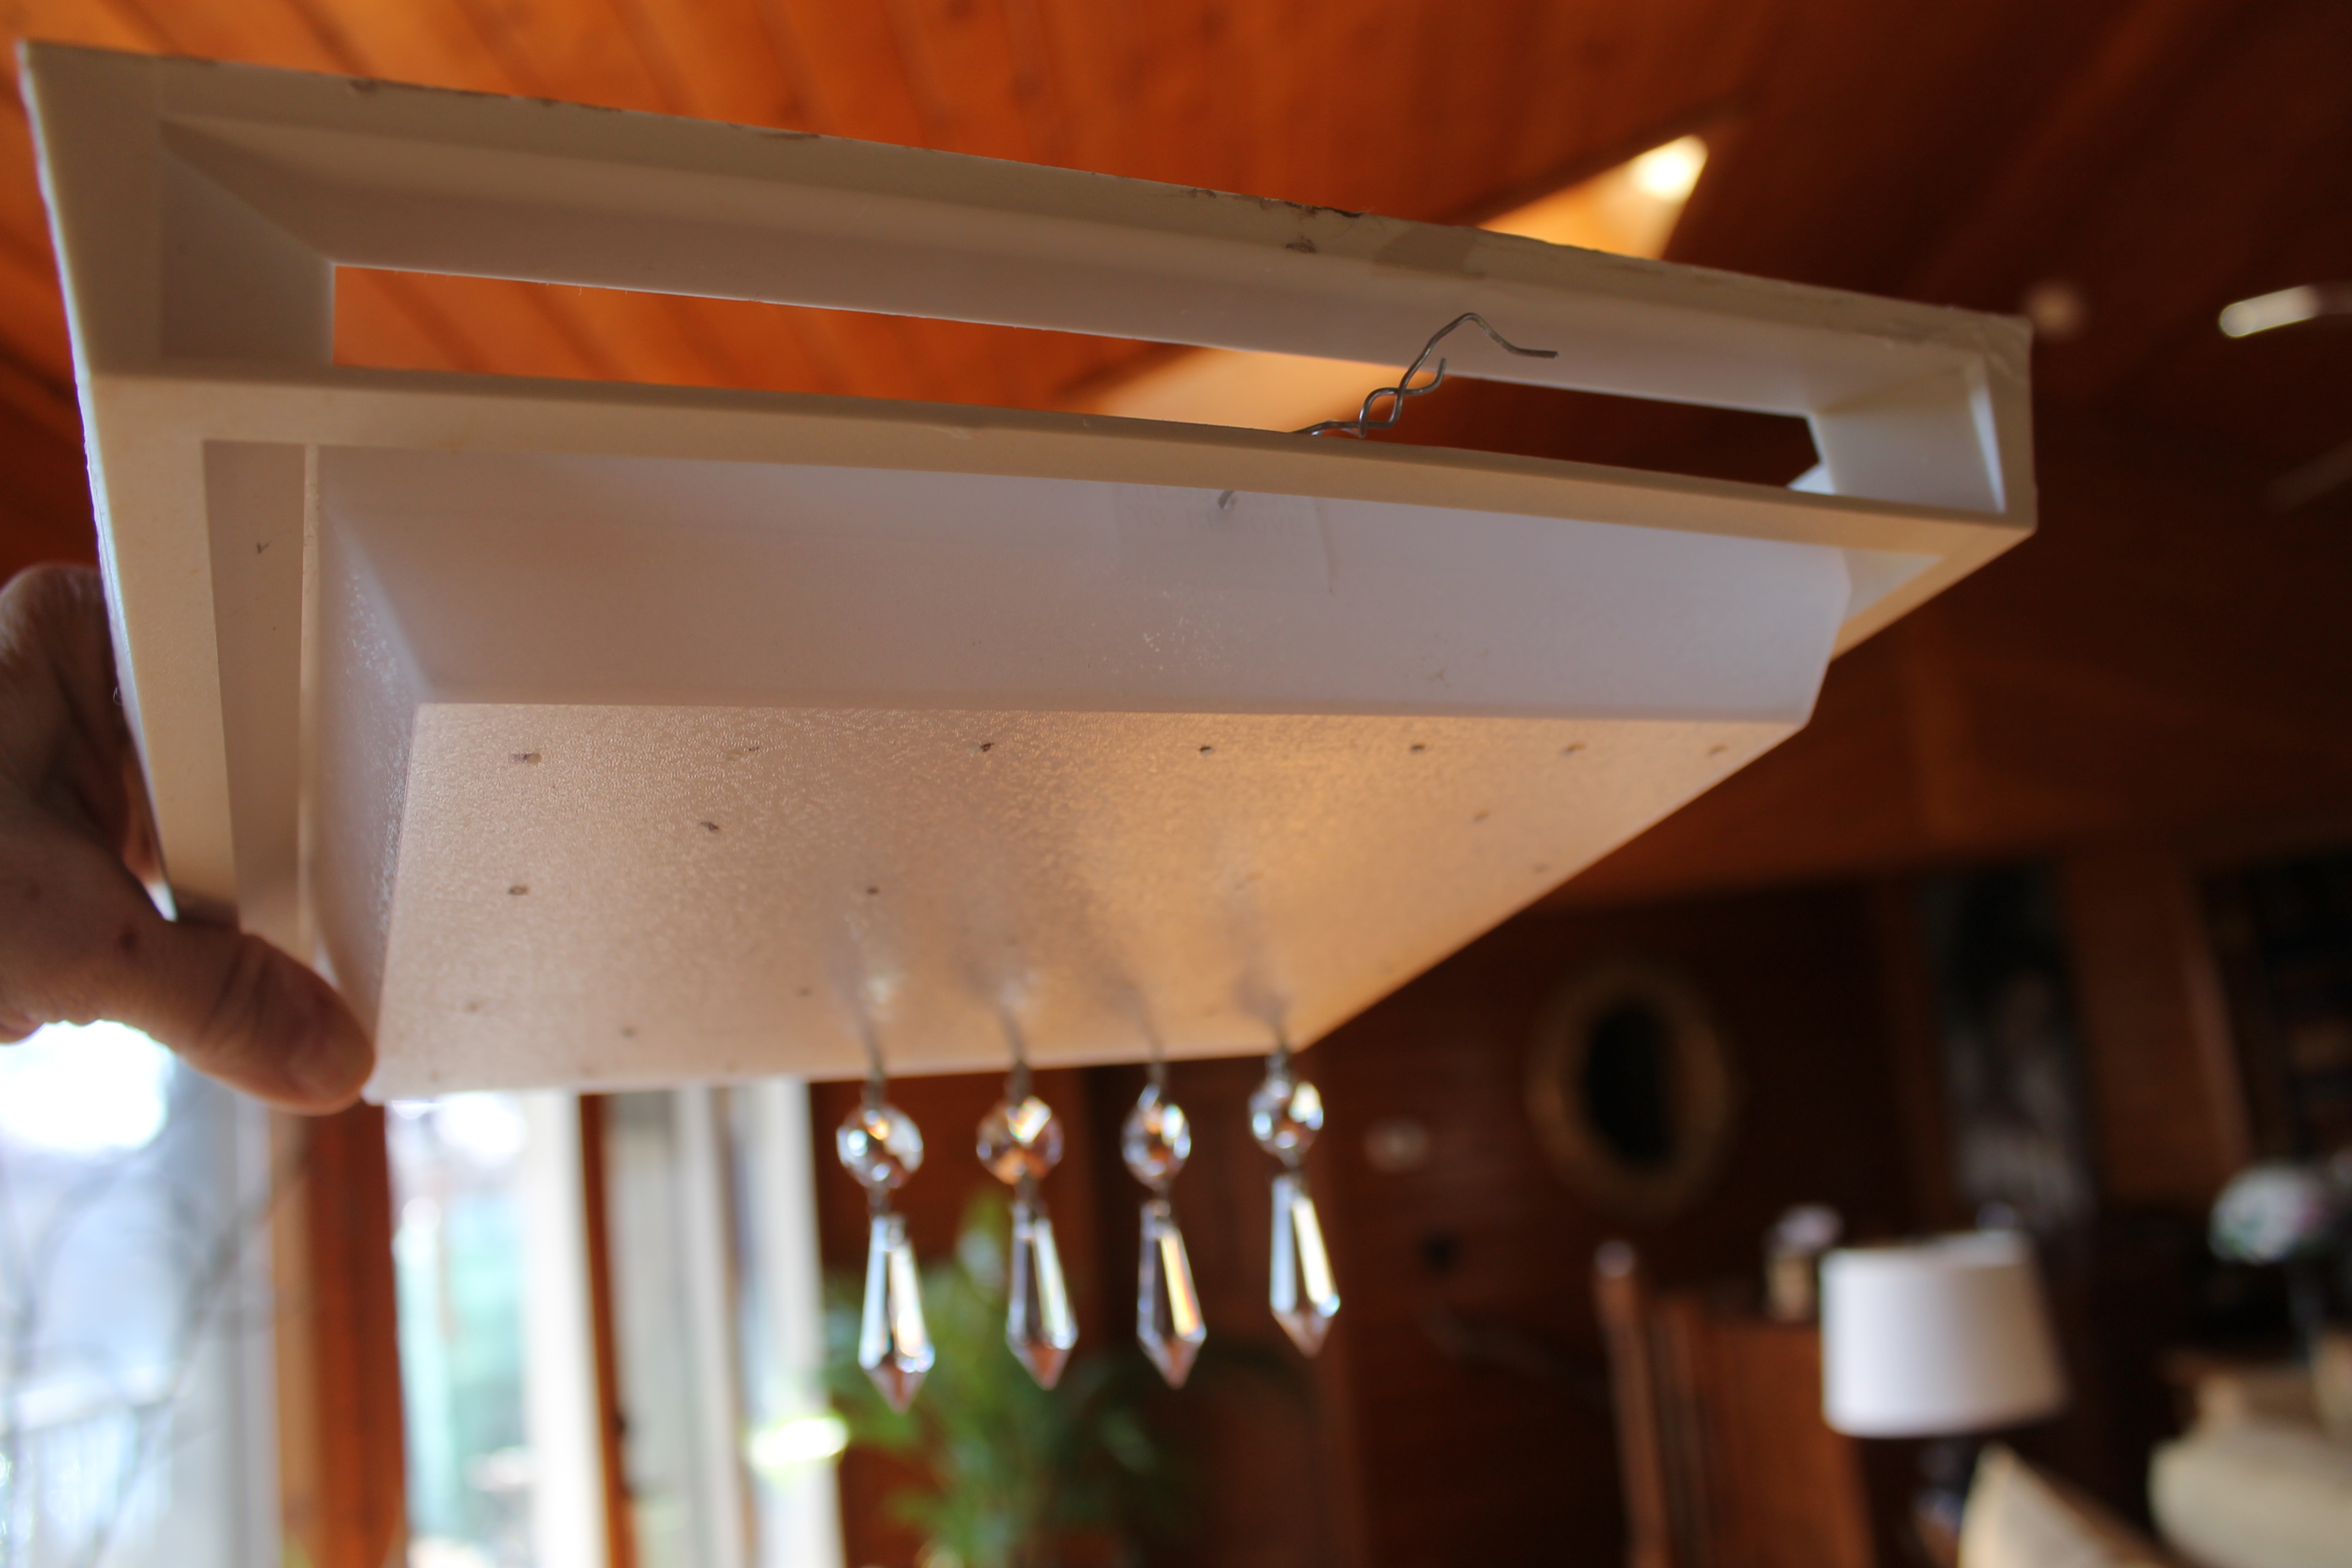
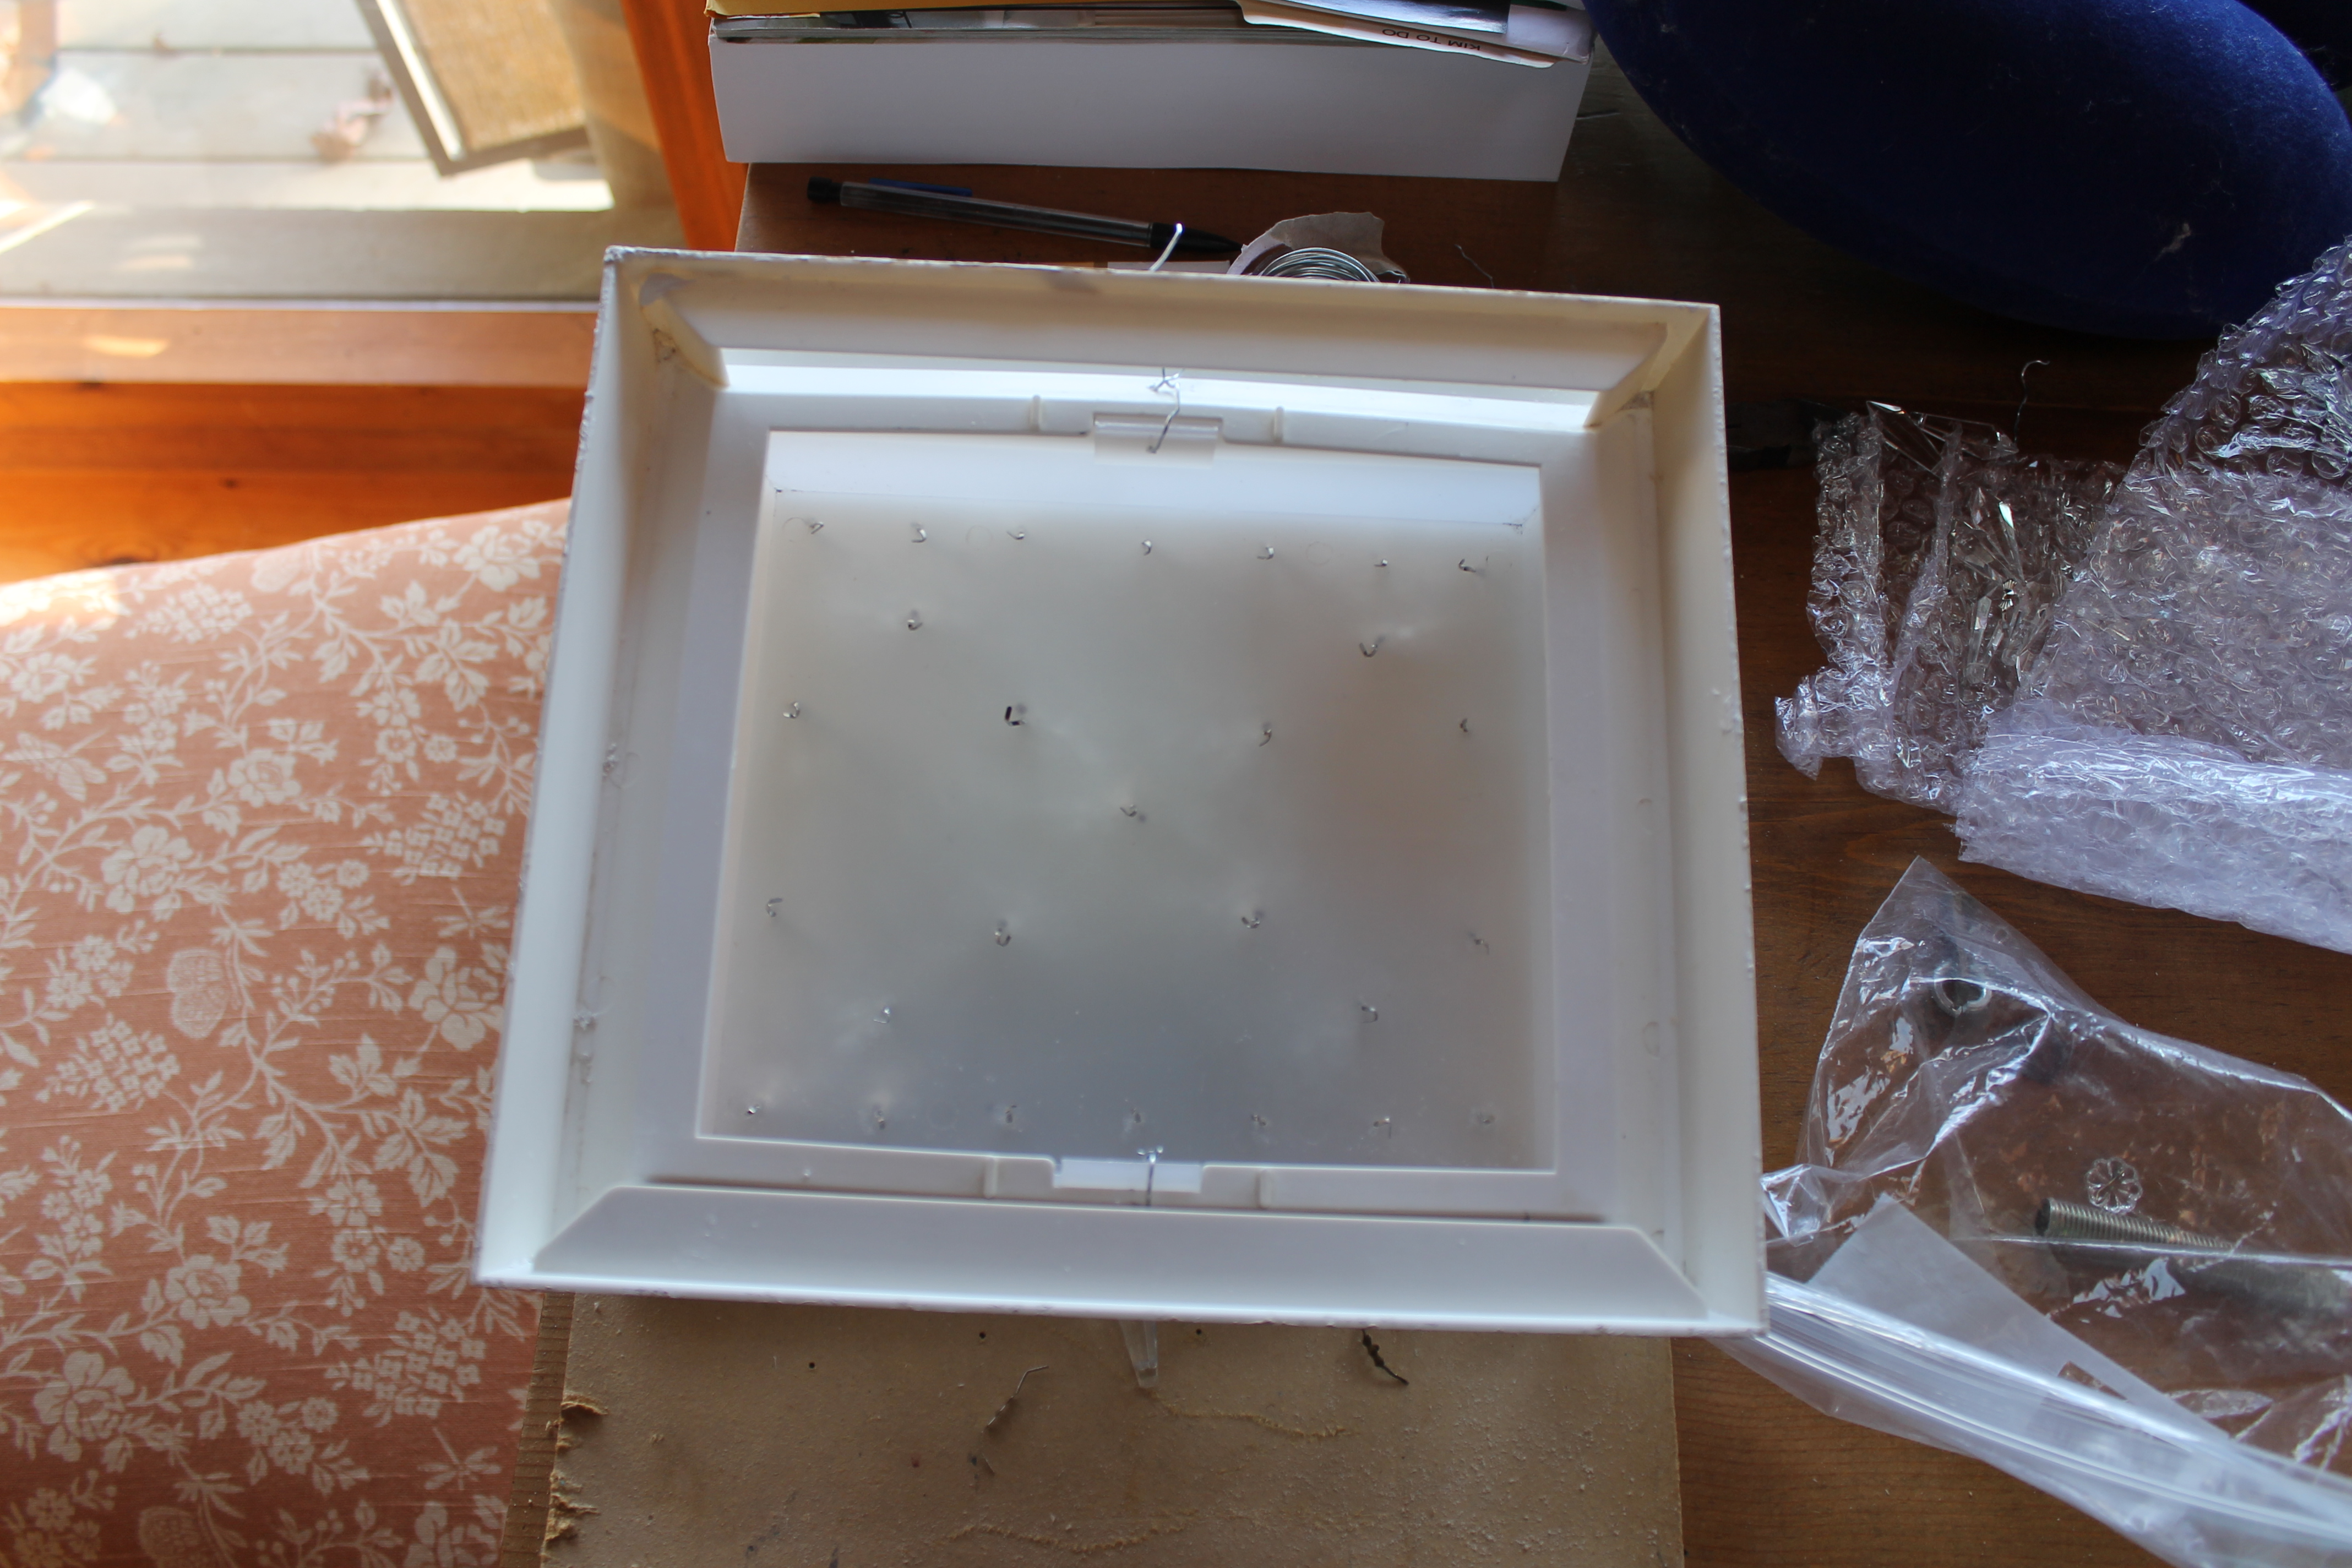 The ugly plastic light/fan cover
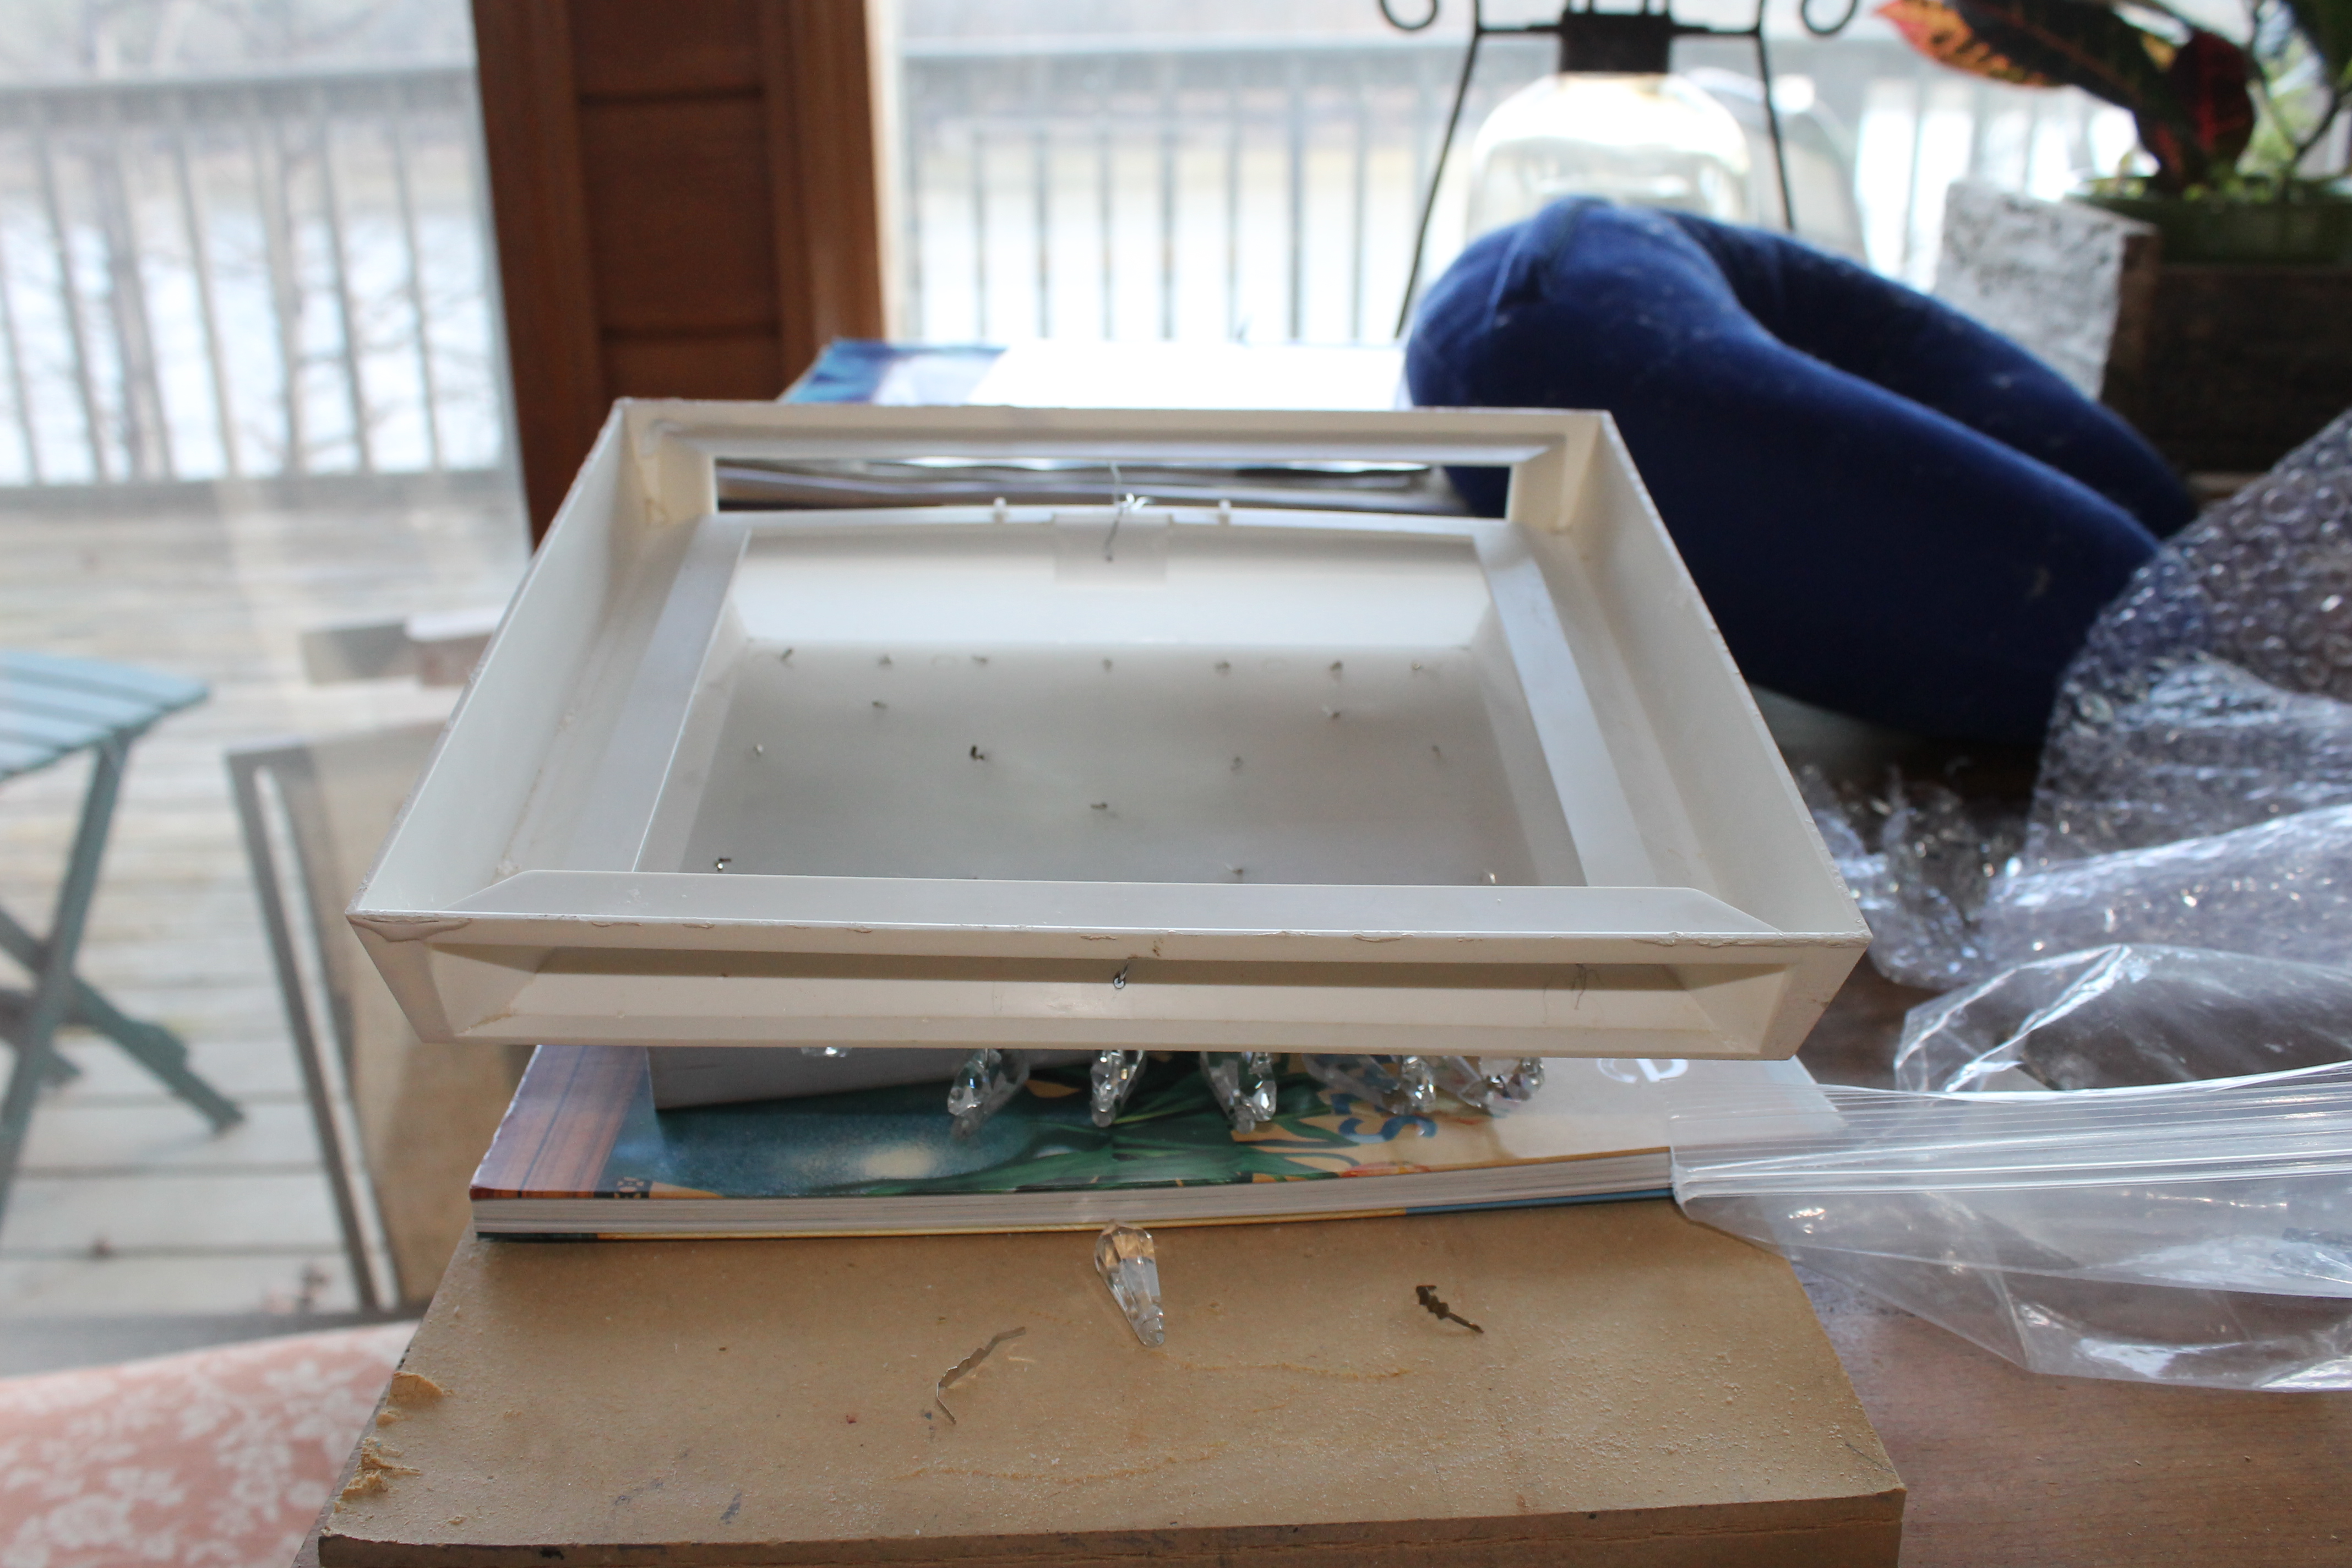 A work in progress…
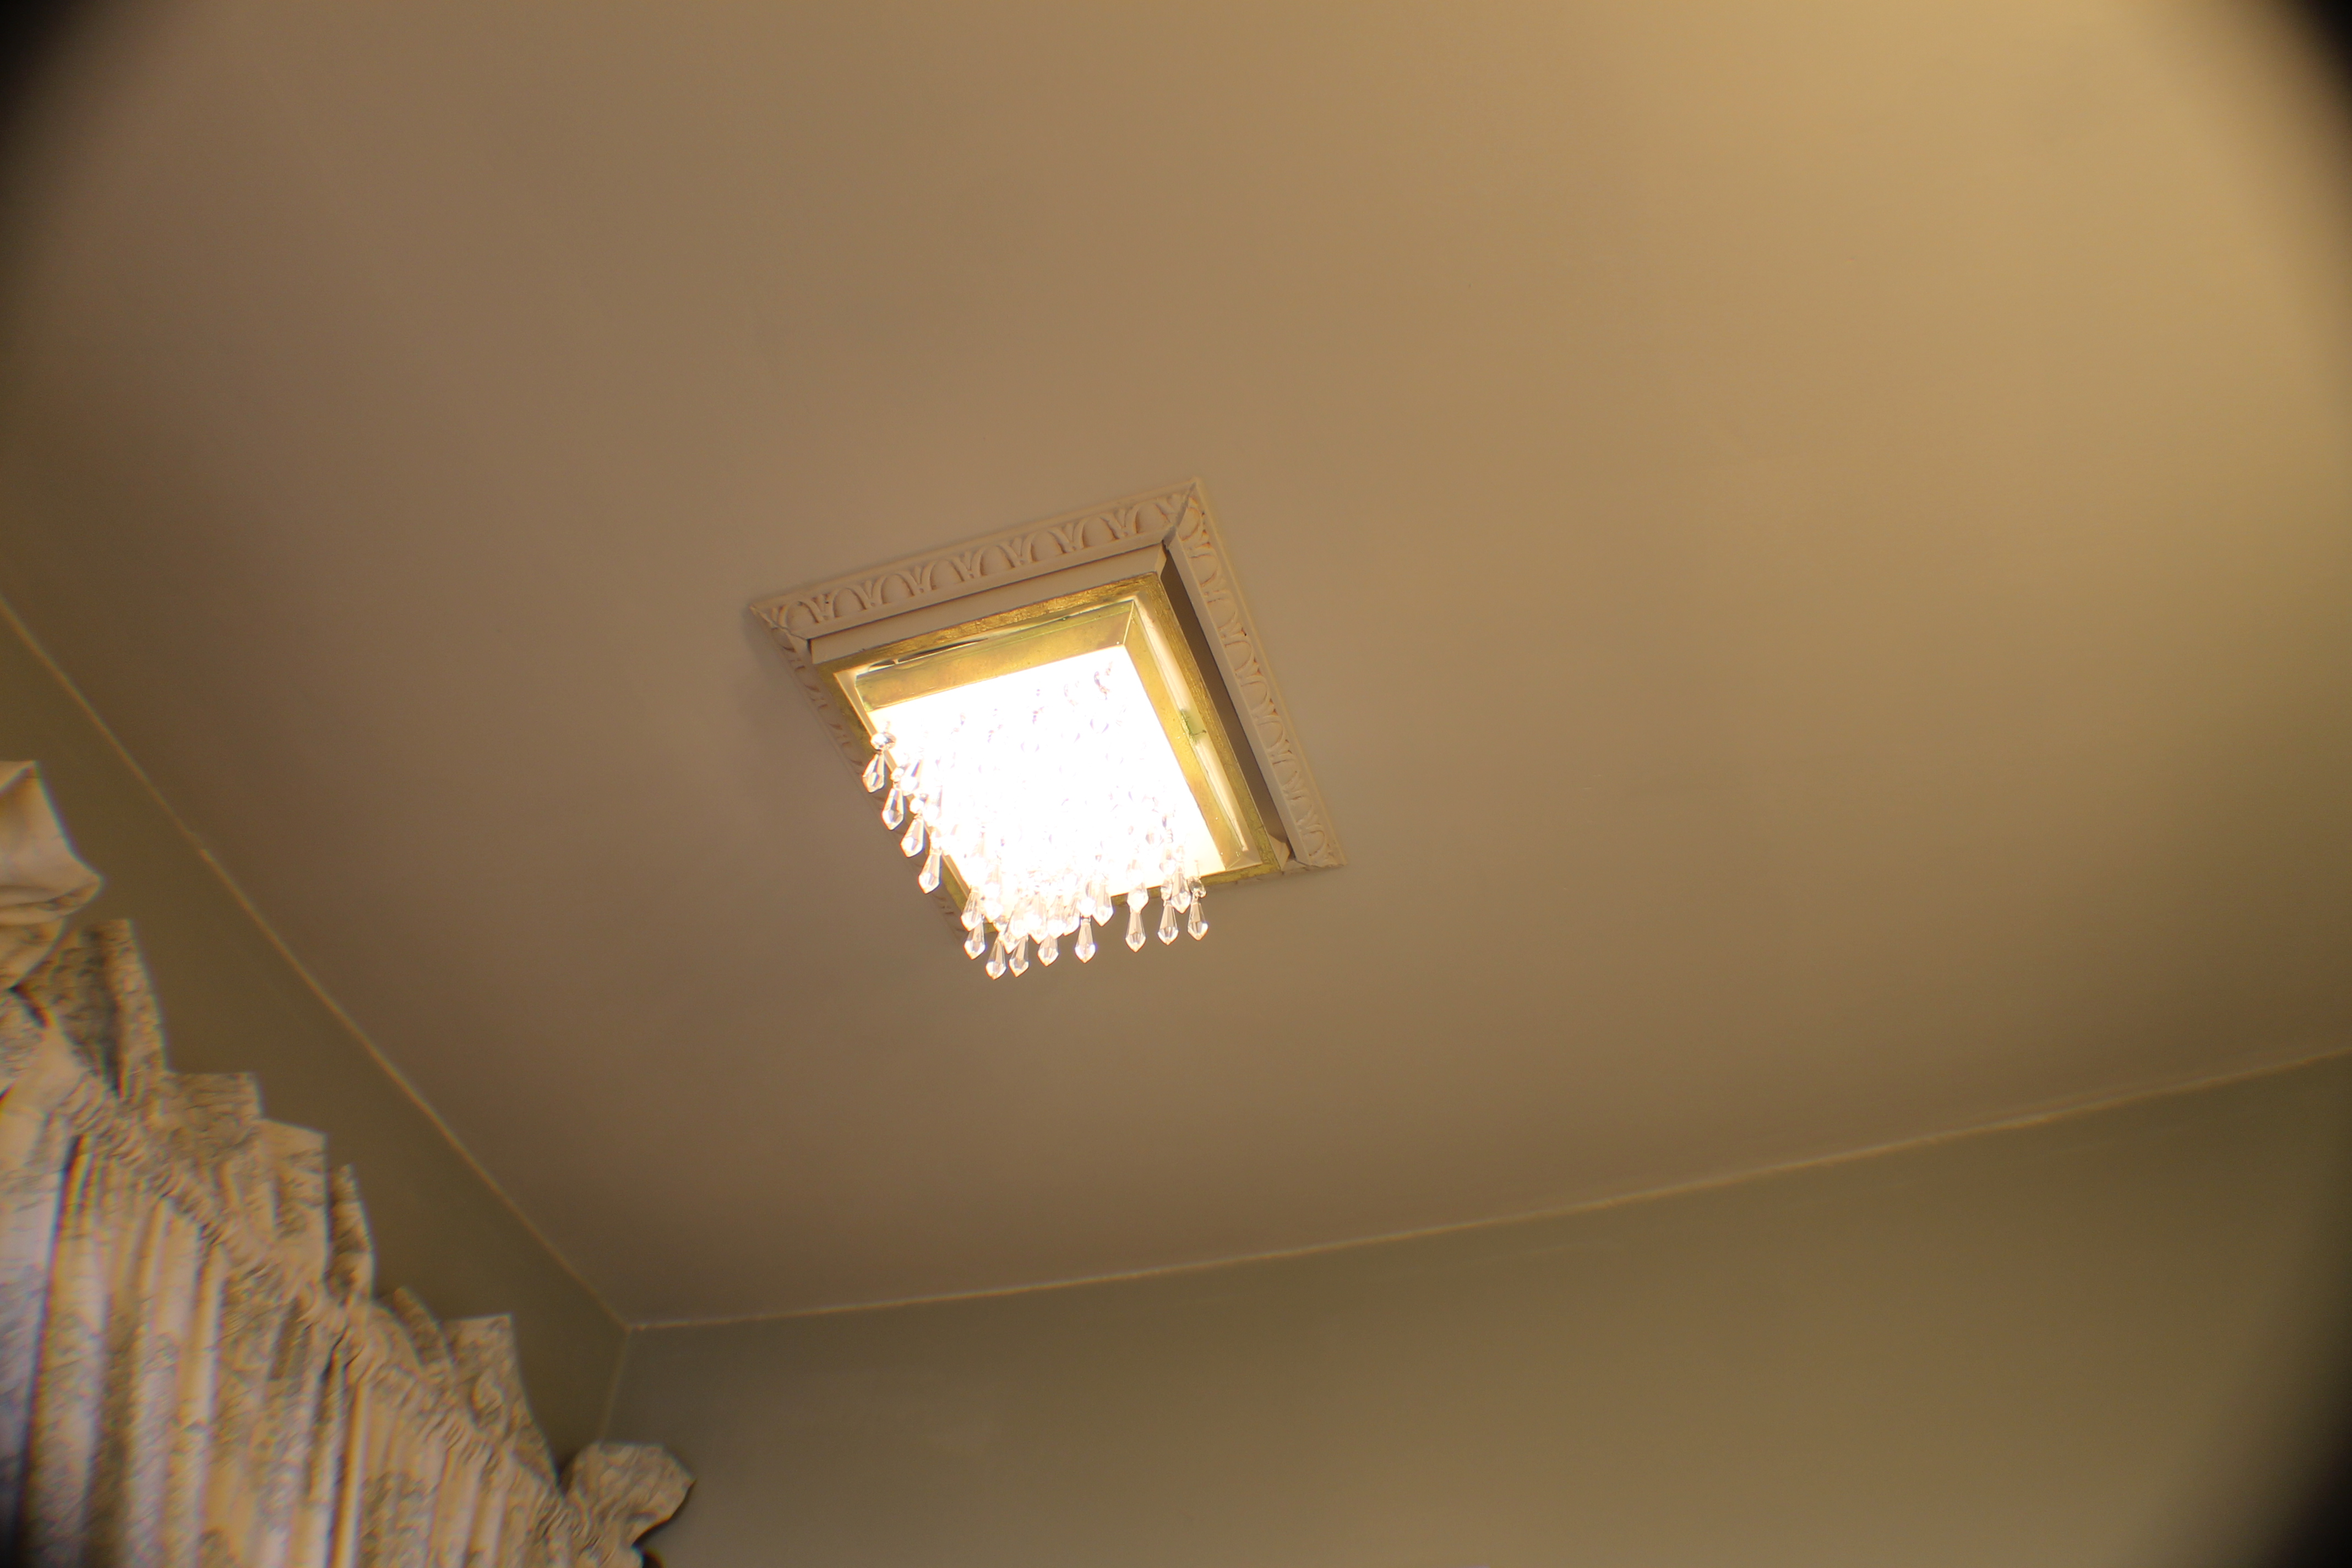
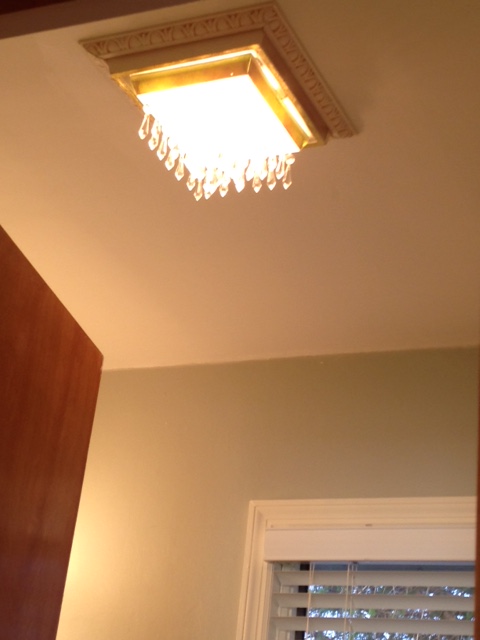
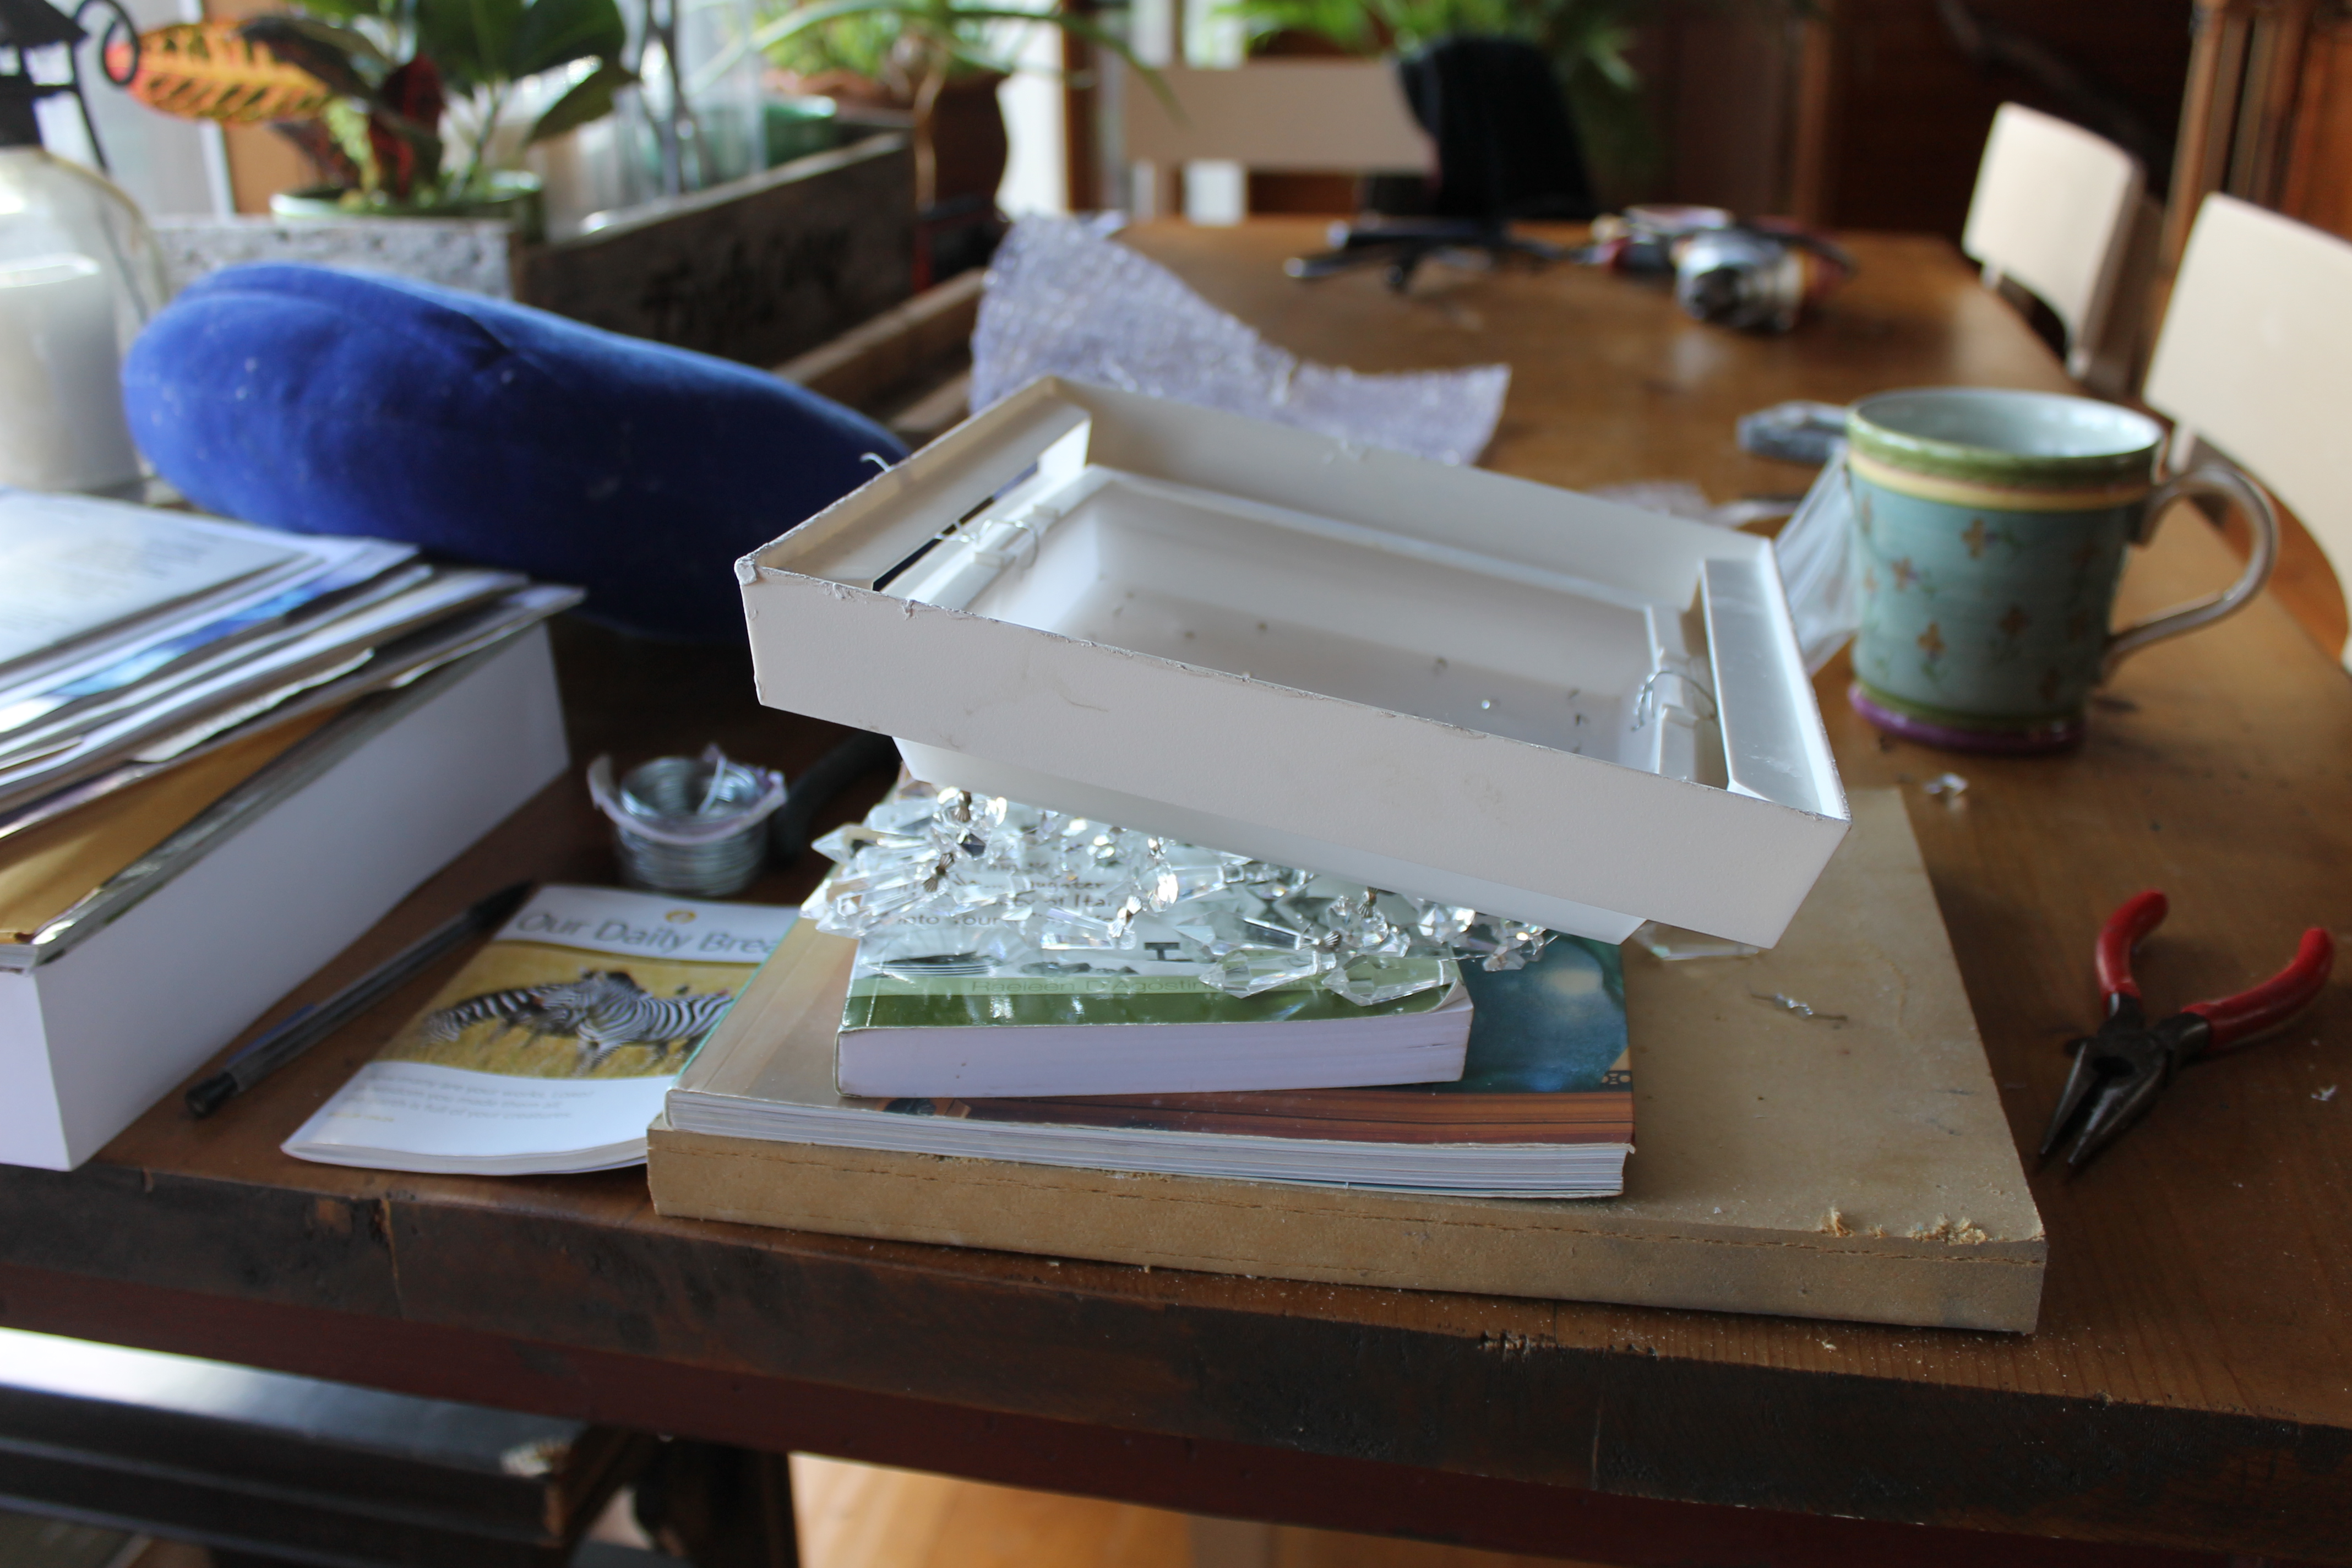 My own design.
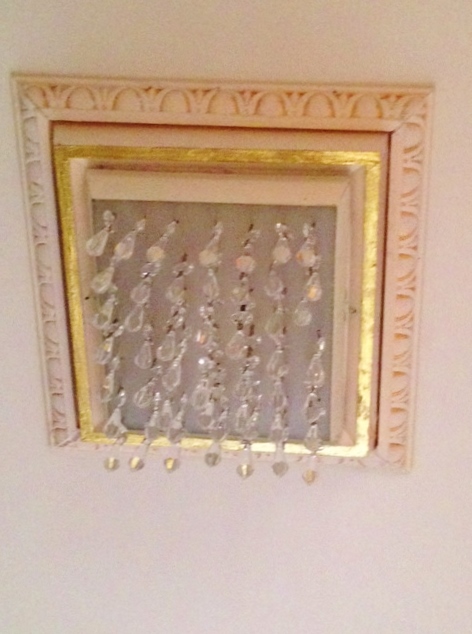 Adore!
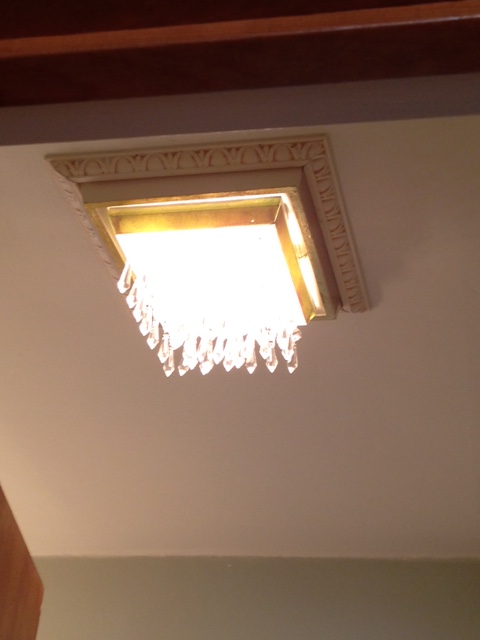
 So, other than a couple of small things like having new mirrors cut for the medicine cabinet and glazing and molding the ceiling here is another room checked off the design list.
Once I complete the details I’ll post updated photos.
I really appreciate you visiting and hope that you enjoyed the process half as much as I did.
Au revoir et merci!
Kim